A Midrand sign shop with growing cutting demands
The client was a busy sign maker in Midrand serving office parks, retail centres and industrial sites across Johannesburg and Pretoria. Their flat-bed cutting work had grown from occasional one-off jobs into daily production, with routed panels, acrylic letters, fascias and mounting parts all needing to leave the workshop on time.
The brief was simple on paper: add dependable routing capacity, keep the operator learning curve manageable, and avoid a machine that would sit idle when power was unstable or dust control fell behind. The workshop already had a mixed flow of print, manual finishing and assembly, so the new setup had to slot in without turning the floor into a bottleneck.
What the workshop needed to handle
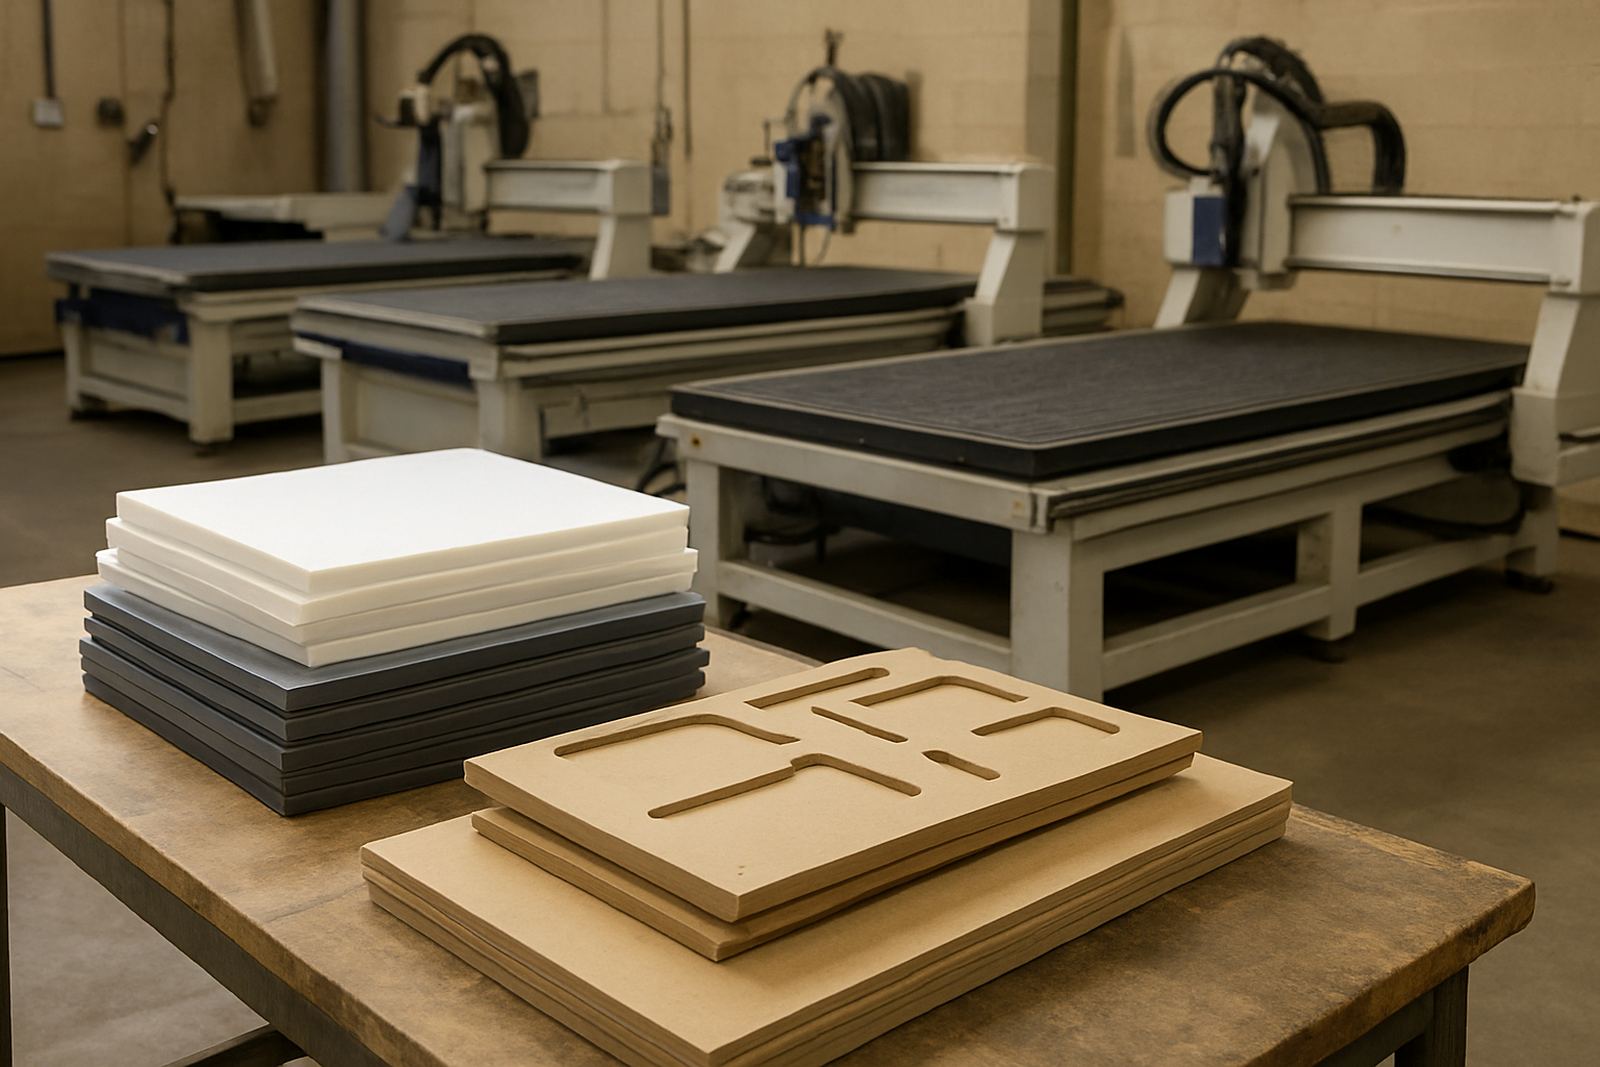
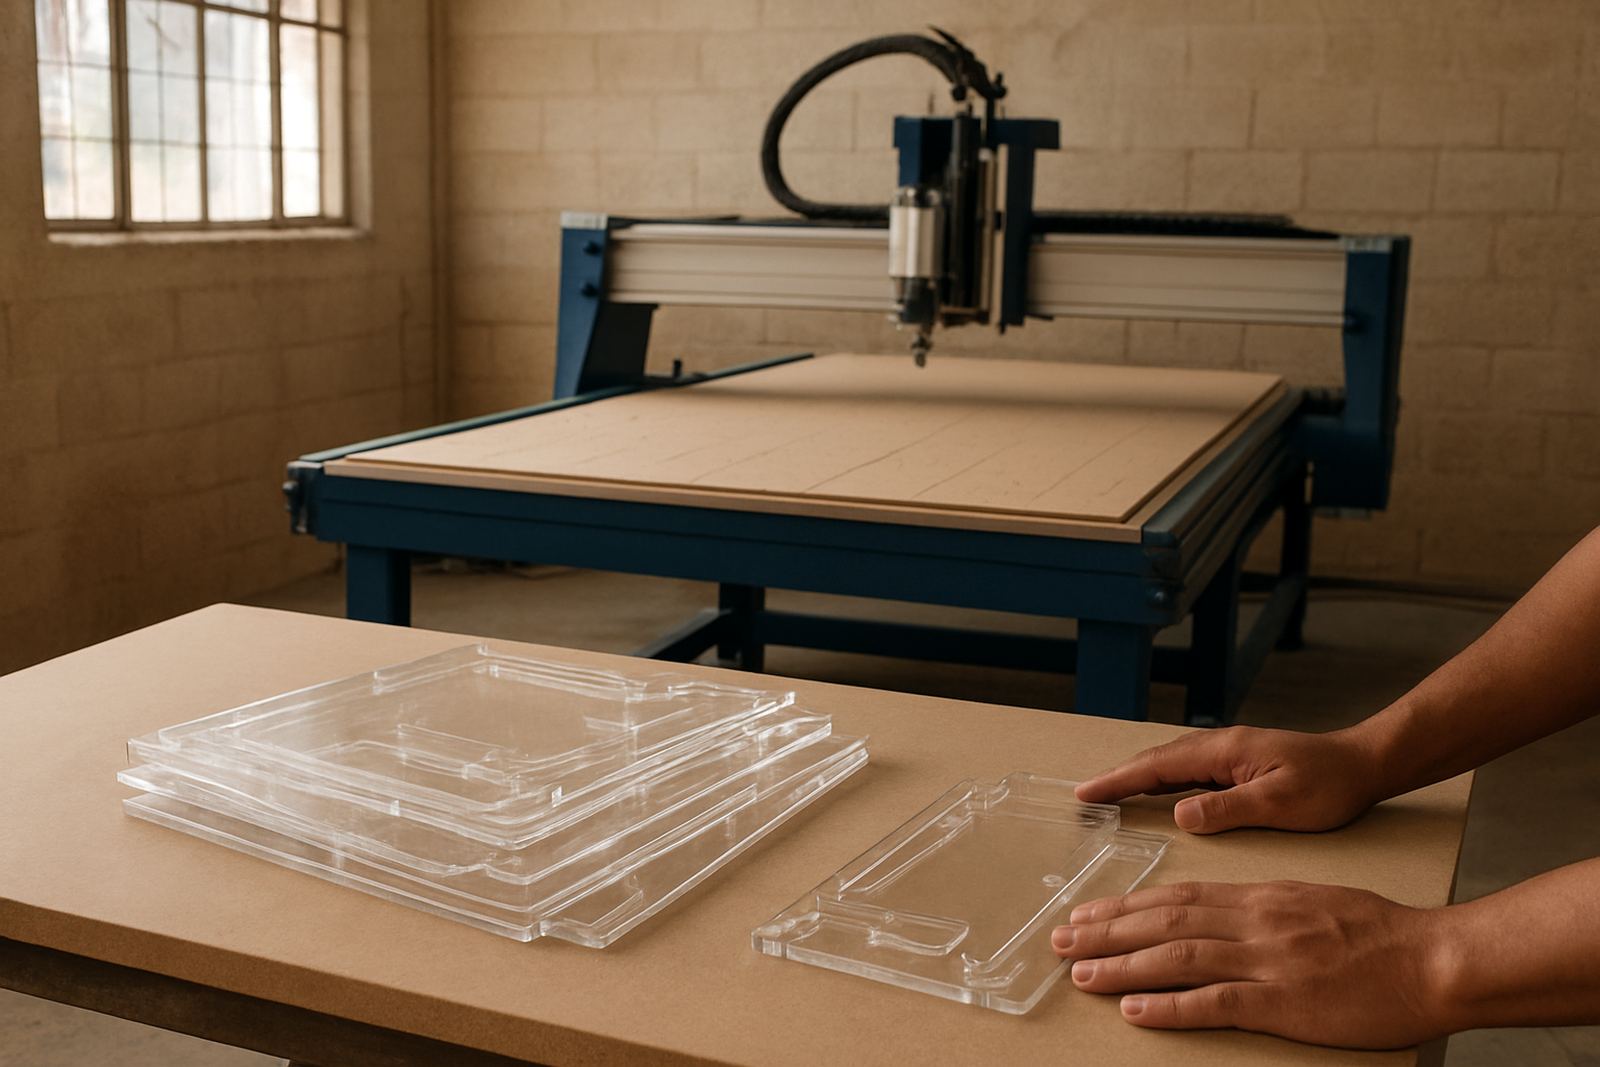
The job mix in this shop asked for clean edges on sign board, repeatable acrylic trimming and enough table space for nested panel work. The team also wanted better control over small parts, because letter sets and trim pieces were wasting time when they shifted during cutting. With Midrand traffic and tight delivery windows, they needed predictable cycle times and fewer reworks.
- Material range: PVC board, ACM type composite panels, acrylic, MDF and light aluminium sheet
- Typical part sizes: small lettering through to full sheet nesting on standard workshop stock
- Production pressure: daily sign jobs with same-day turnarounds on urgent orders
- Site conditions: dust from board cutting, occasional voltage fluctuation and limited floor space
There was also a training issue. Two operators had used routers before, but neither wanted a machine that needed constant guesswork. The shop needed clear setup steps, sensible tooling choices and a controller workflow that made sense for ordinary production, not just test cuts on a quiet afternoon.
The MultiCAM setup supplied and installed
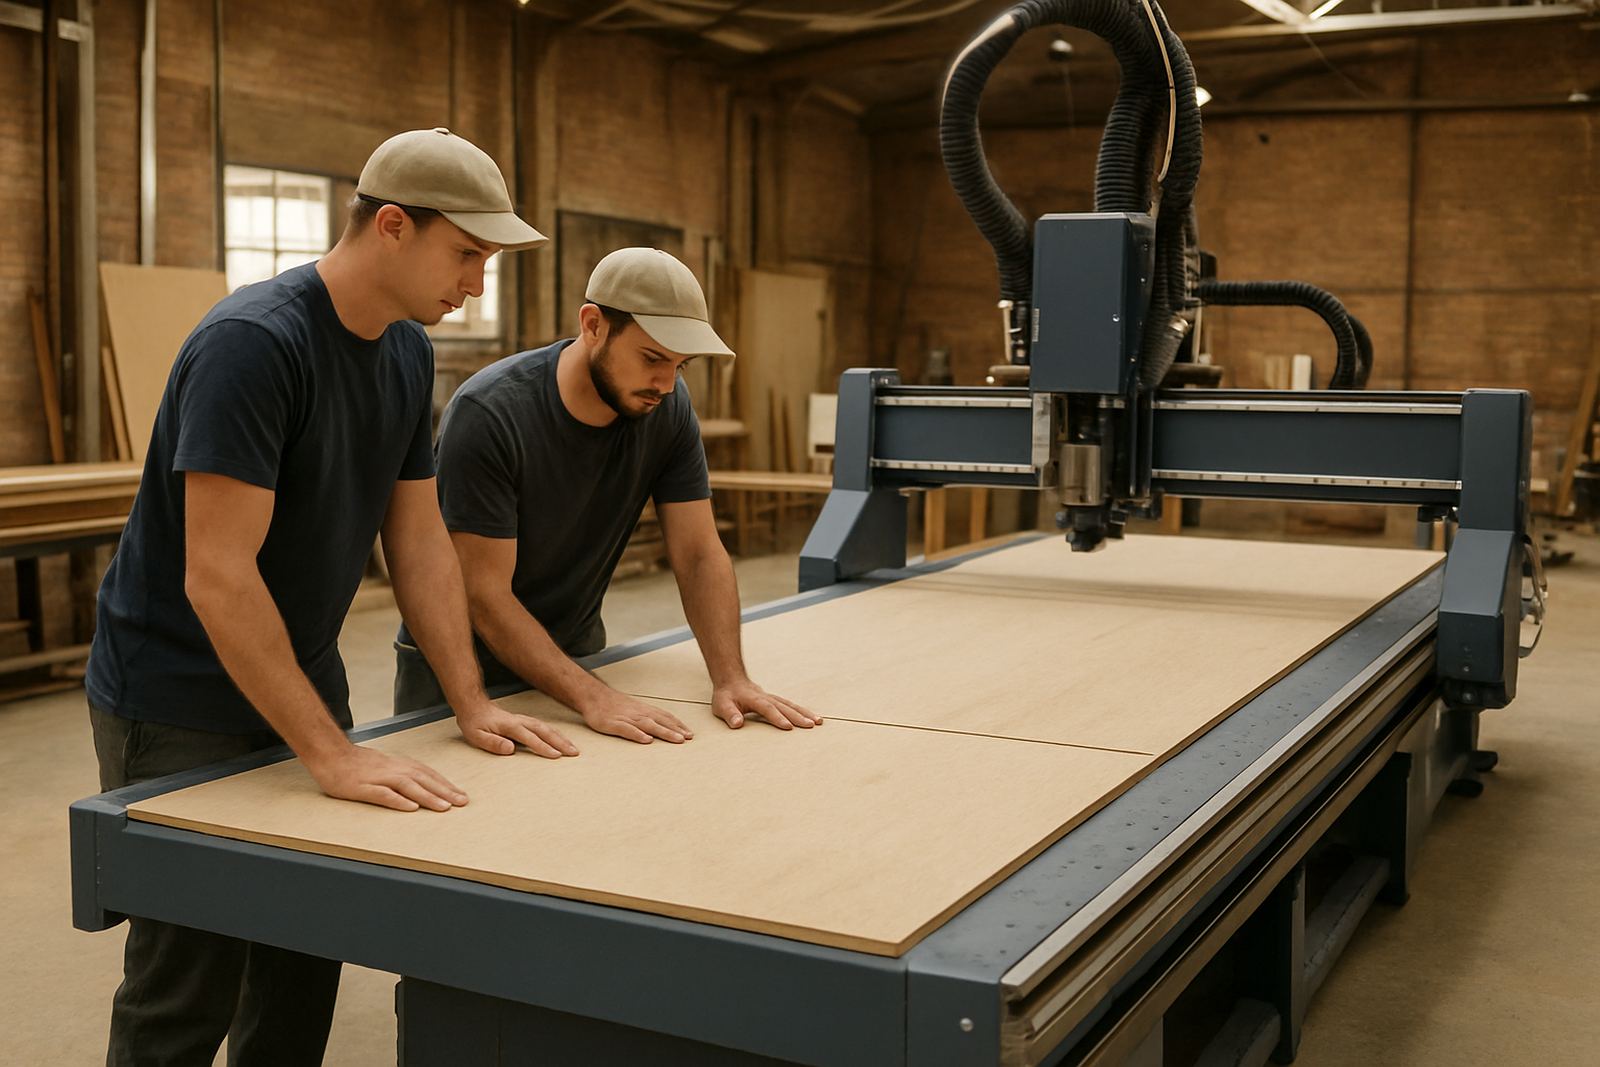
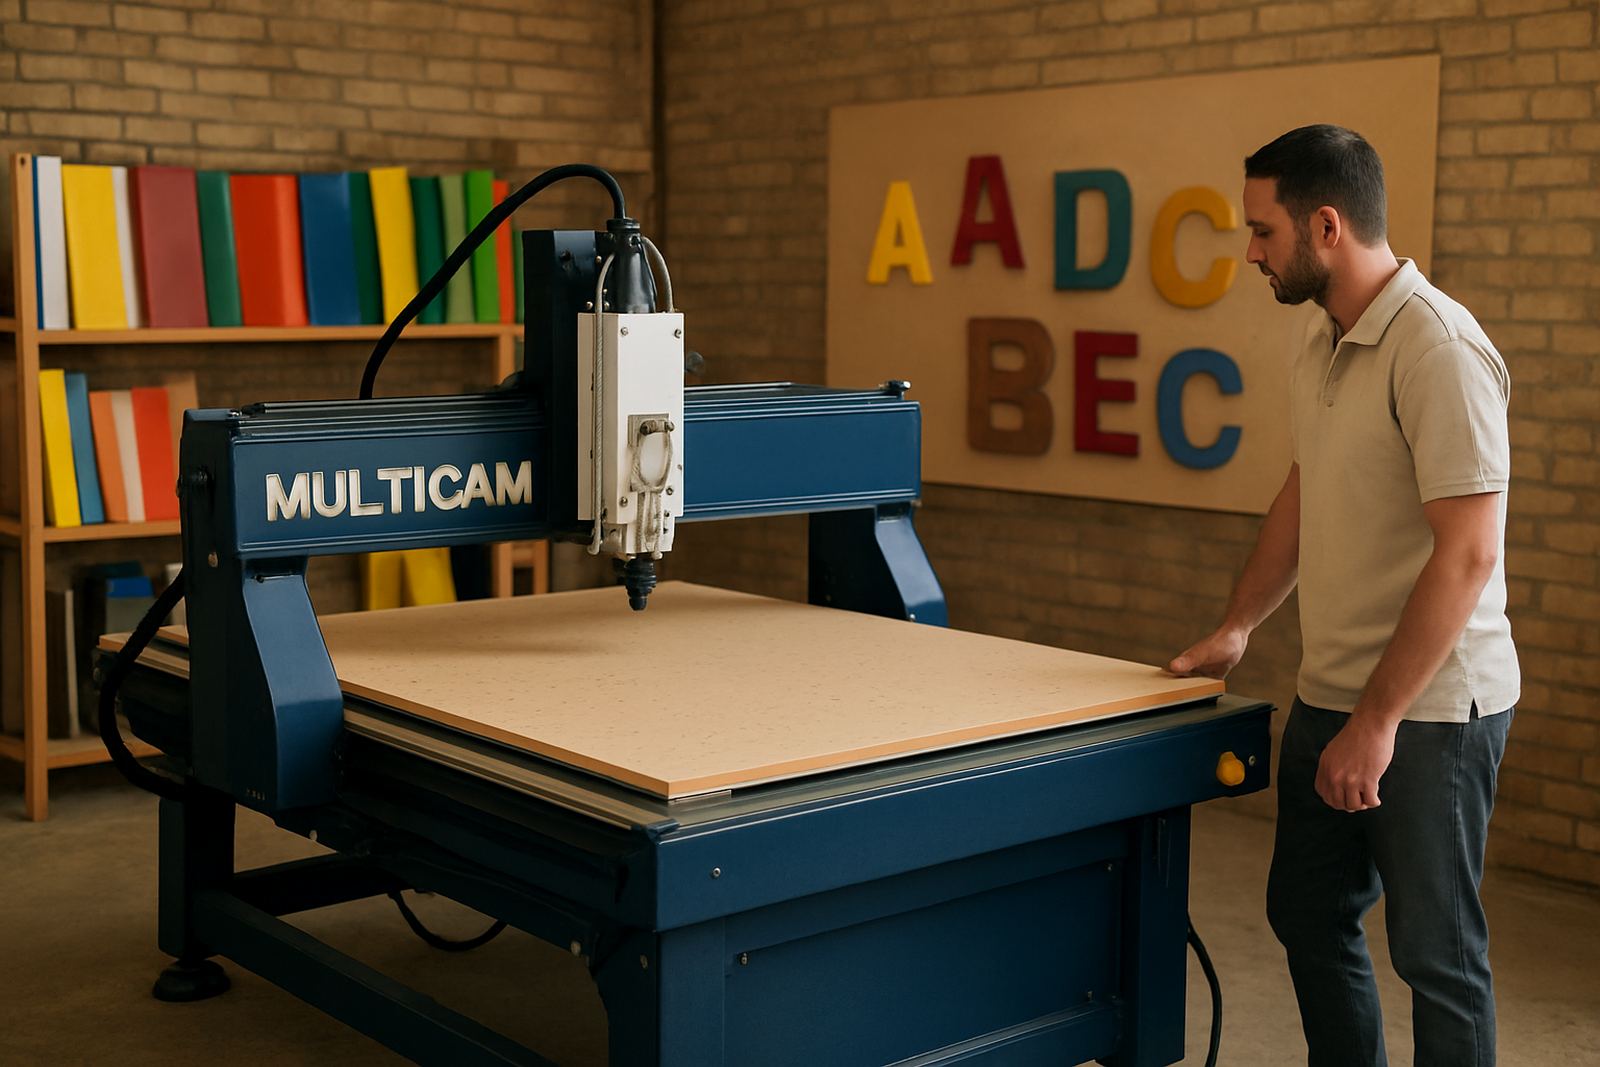
We supplied a CNC router package sized for sign production, with a working area suited to sheet stock used in most South African sign shops. The machine was paired with practical tooling, vacuum hold-down guidance and dust extraction checks so the table could hold down smaller acrylic parts without fuss. Where needed, we also reviewed cutter choice for board, plastics and light metal trims.
The installation covered machine placement, levelling, power checks and initial calibration. Our Germiston-based team handled the on-site work and kept the commissioning process direct. Controller backups were created, basic tool offsets were set, and the operator side was tuned so the team could move from drawing to cut parts with fewer retries. There was one minor delay while the workshop cleared an old rack, but it did not affect the final handover.
- CNC router sized for sign and panel work
- Vacuum table checks for small part retention
- Dust collection balancing for cleaner cutting conditions
- Controller backup and file handling setup
- Initial tooling notes for plastics, board and light aluminium trimming
Three weeks from approval to production
The project ran over three weeks from sign-off to steady production. Week one covered site review, floor layout and the power and dust extraction check. Week two was delivery, positioning and installation. Week three focused on commissioning, operator training and test jobs using real workshop material.
That timeline suited the client because it left enough time to prepare jobs and rework the nesting process before the machine went live. We also used the training window to show the team how to check hold-down on smaller acrylic pieces and how to spot tool wear before it started affecting edge quality. A quick controller backup routine was built in from day one, which matters when a workshop relies on the same machine most of the week.
Operator training that matched the real workload
The machine only helps if the operator trusts it, so the training was kept close to the actual work on the floor. We walked through job setup, file loading, tool changes, material zeroing and what to do when a sheet was not sitting flat. We also covered how to pace jobs when the shop had a mix of urgent sign panels and longer nesting runs.
Because sign work often includes repeated letters and offcuts, the team needed a practical way to sort jobs by material thickness and cutting path. We showed them how to keep the tooling list simple and how to avoid pushing a finishing pass too hard on acrylic. That saved time on sanding and reduced chip-out on trim pieces. The workshop manager said the biggest gain was having fewer stop-start moments during the day, which helped everyone plan their finishing work better.
- Safe startup and shutdown routine
- Material zeroing and datum setting
- Simple tool library for common shop jobs
- Basic fault spotting before a small issue becomes a full stop
Results in the first production cycle
Within the first production cycle, the shop saw better part consistency, cleaner edge quality and less manual trimming after the cut. Nested jobs that used to be split between hand work and routing could now be handled in a more controlled flow. The team also reported fewer damaged acrylic pieces, mainly because the vacuum hold-down and setup routine were more predictable.
For a sign maker in Midrand, that meant faster turnaround on customer orders and less pressure on the finishing bench. The machine did not remove the need for skill, but it reduced the number of places where an operator could make an avoidable mistake. The client especially liked that the setup worked with their existing workshop layout, so there was no need to rebuild half the floor just to start cutting.
What we would repeat on the next sign shop install
If we were doing this exact project again, we would keep the same approach: match the machine to the actual sheet mix, set up dust and hold-down before production starts, and spend enough time on training with live jobs rather than sample cuts only. That gives the shop a better first week and fewer surprises when load-shedding, rush jobs or a busy Monday morning appear.
For sign makers, the main lesson is that a CNC router should fit the pace of the workshop, not force the workshop to change everything around it. A good install leaves the team with clear procedures, spare tooling on hand and a machine that can be serviced without drama. That is the standard we aim for on every Midrand job and across South Africa.
Key facts
| Project location | Midrand, Gauteng |
|---|---|
| Client type | Sign shop |
| Main application | Panels, letters and acrylic trim work |
| Machine type | CNC router |
| Timeline | 3 weeks from approval to production |
| Support included | Installation, commissioning, training and controller backup |
| Service area | Installed from Germiston with support across South Africa |