The brief from a busy Durban acrylic shop
The client was a mid-sized acrylic fabricator in Durban working on signage parts, display panels and formed components. Their main problem was not lack of demand, it was inconsistency. Some jobs came off clean while others needed too much hand finishing, and clear sheets were getting marked during loading and offloading. They wanted better nesting, cleaner cut edges and a calmer process for operators who were handling expensive material all day.
The brief also included a few practical points that matter in a real workshop. The machine had to fit a coastal environment with heat, humidity and fine dust in the air. It needed to be easy for the team to learn, simple to back up and reliable during load-shedding schedules. The owner asked for fewer surprises, not a complicated setup that only one person could run.
- Primary material: clear and coloured acrylic sheet
- Sheet size handled: 2440 mm x 1220 mm and off-cuts
- Key goals: cleaner edges, less chipping, better sheet handling
- Workshop concern: humidity, dust control and consistent vacuum hold-down
What was holding production back
Before the upgrade, the workshop was relying on a mix of manual handling and a machine that was not giving the same finish across the full bed. On acrylic, small differences in cutter choice, feed rate, vacuum hold and spindle condition show up quickly. That can mean melt marks, edge haze or chips that need polishing and extra labour. For clear material, even a light scuff can turn a saleable sheet into scrap.
There were also issues around sheet movement during loading. Staff were carrying large panels through a tight area, which created a risk of scratches and minor breakages. The team did not need theory, they needed a setup that reduced hand contact, held sheets flat and let them cut with confidence. In short, the workshop needed a better routine from the moment the sheet arrived to the moment the finished part left the table.
- Edge finish was inconsistent across long and short runs
- Material marking happened during handling and positioning
- Vacuum performance varied, especially on smaller parts
- The existing process needed too much touch-up after cutting
The machine and table setup we supplied
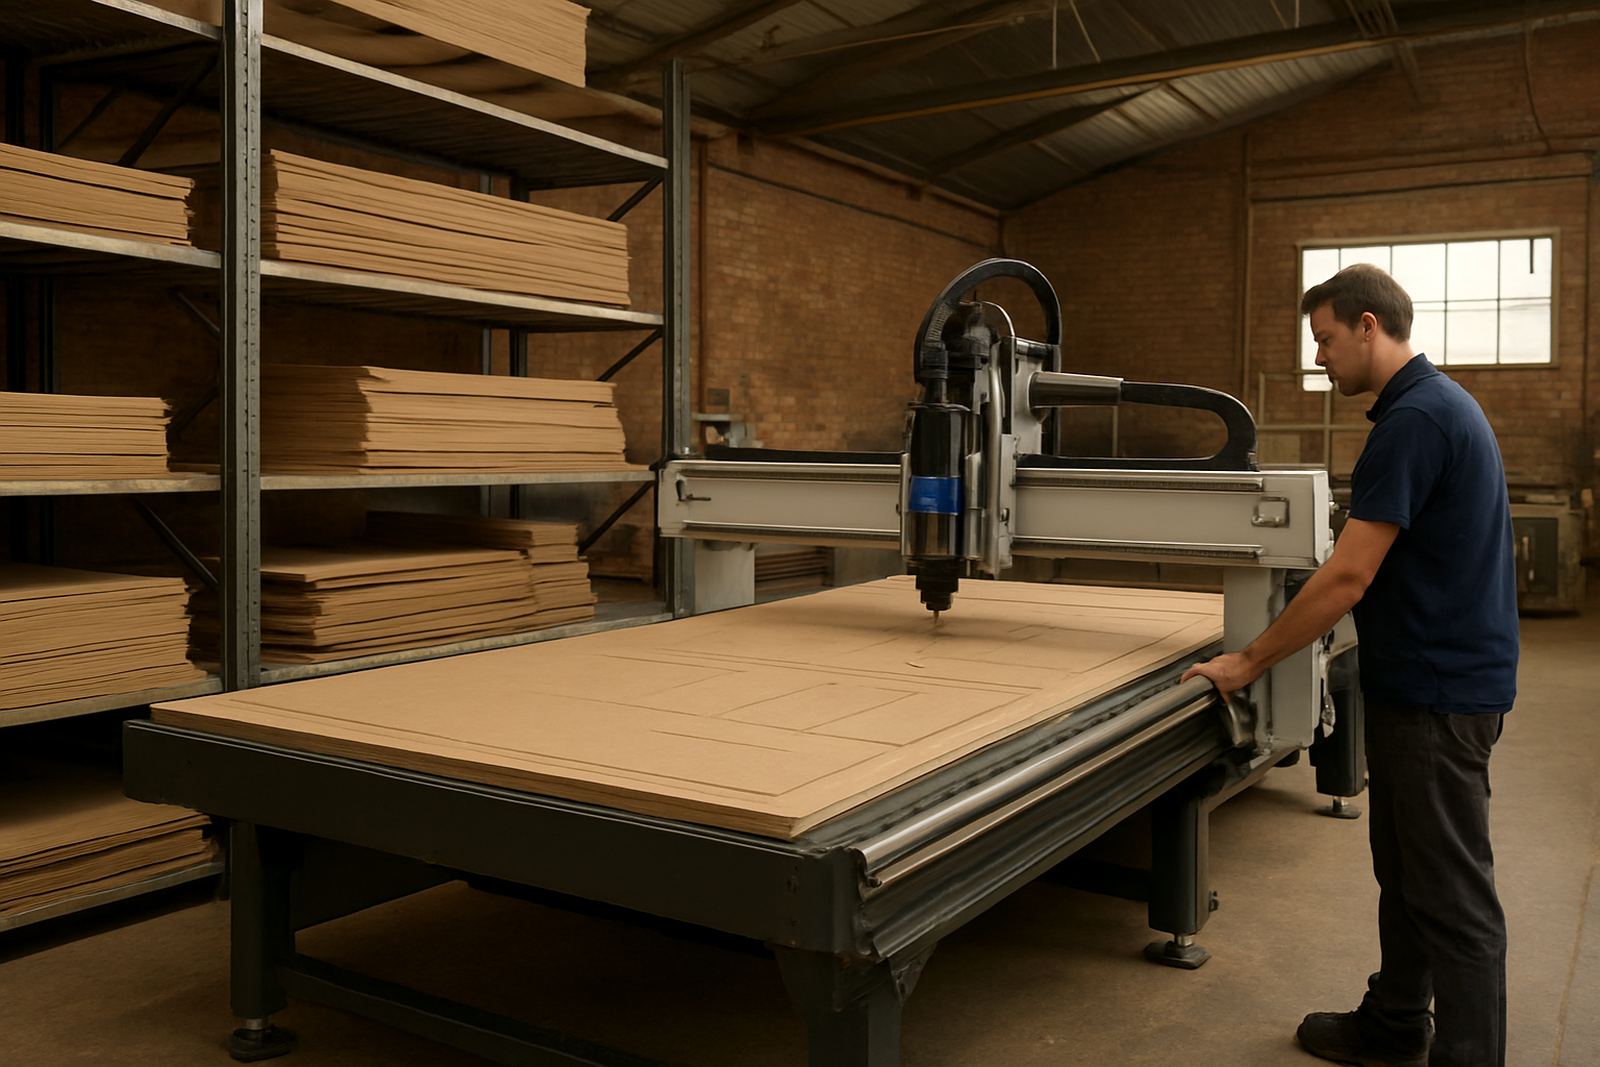
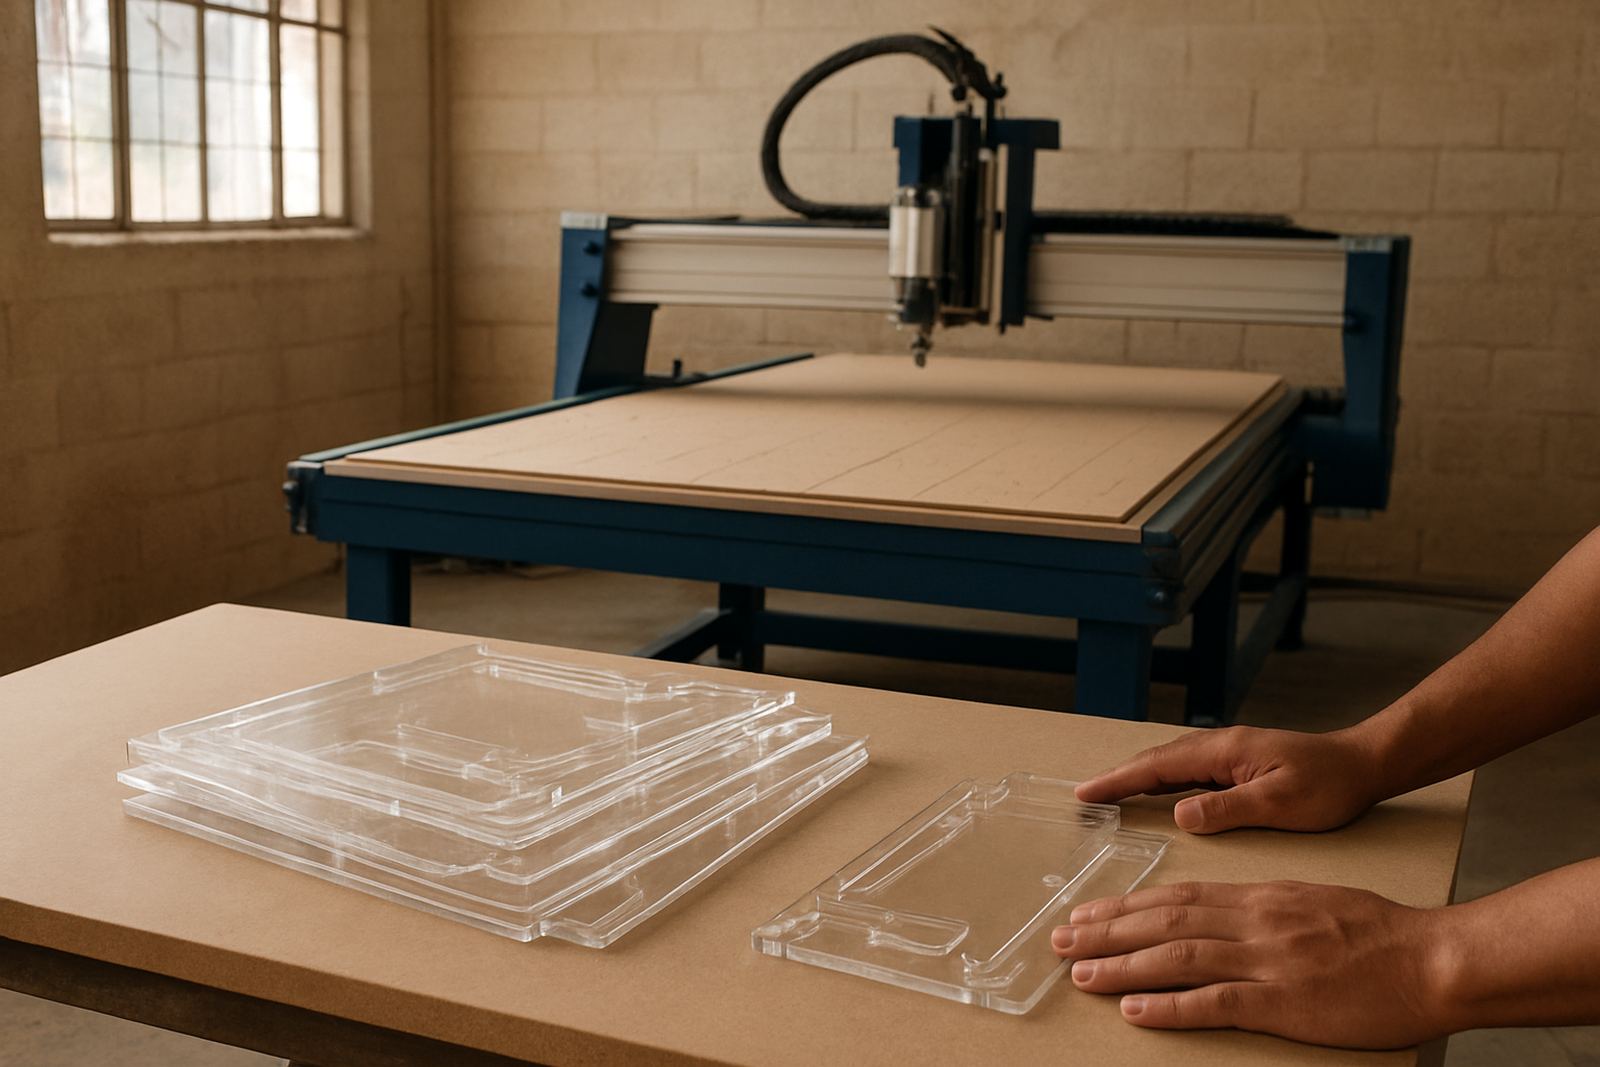
We supplied a CNC router package sized for acrylic work, with a table arrangement suited to sheet handling and repeat cutting. The machine was selected for clean routing on plastics, with enough working area for full sheets and a practical hold-down setup for nested parts. We also set out tooling guidance for acrylic so the team had the right cutter type, feed direction and pass depth from the start.
The core specification was aimed at dependable workshop use rather than overcomplication. A rigid frame, accurate linear motion, a suitable spindle and an effective vacuum system gave the client the control they needed on clear sheet. We also added backup and recovery guidance so the operator could save settings, protect jobs and get back running quickly after interruptions.
- Working area: full 2440 mm x 1220 mm sheet capacity
- Table: vacuum hold-down with zoning for smaller nests
- Control: operator-friendly controller with job memory and backup support
- Tooling note: single flute and plastic-friendly cutters for clean chip evacuation
Installation and commissioning in three weeks
We completed the project over three weeks from final sign-off to handover. Week one covered site planning, power checks and floor layout so the machine would sit properly in the available space. Week two was installation and alignment, including table levelling, vacuum testing and dust extraction balancing. Week three covered commissioning, sample cutting and operator training with the actual jobs the client wanted to run.
Because the workshop is in Durban, we paid attention to humidity and to how the material behaved during the first test cuts. Acrylic can be unforgiving if the chip load is wrong or the cutter is not suited to the job. We ran sample passes, checked edge finish and adjusted the cutting strategy until the parts came off clean. The team wanted practical guidance, so we kept the settings and routine easy to repeat.
- Week 1: site measure, utility check and layout planning
- Week 2: delivery, installation, levelling and vacuum checks
- Week 3: commissioning, sample parts, operator training and sign-off
- Final handover included controller backups and basic service notes
Results on clear material and sheet handling
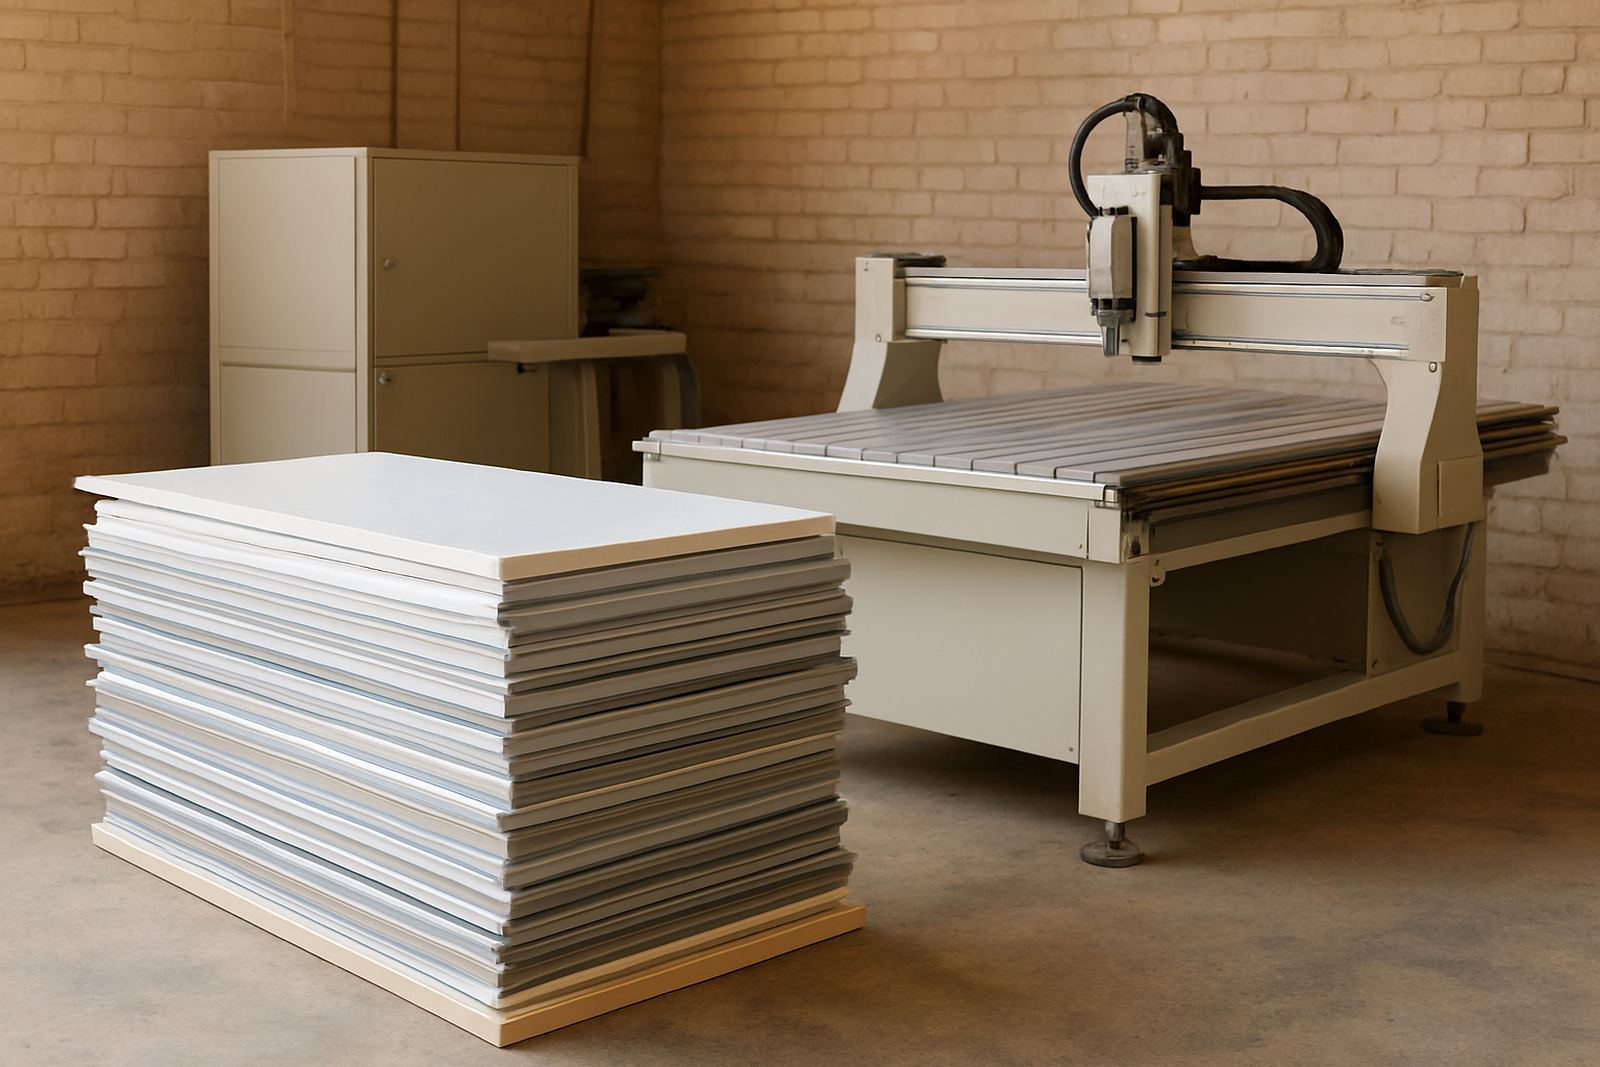
The first change the client noticed was edge quality. Clear acrylic parts came off with less chipping and less haze, which reduced polishing time and improved the look of finished pieces. The second change was handling. With a better table arrangement and clearer workflow, staff did not need to move sheets around as much, so there were fewer scratches and less stress during loading.
Output became more predictable too. The workshop could nest jobs more efficiently, use the sheet better and keep a steadier pace through the day. Since the cut quality was more consistent, the team spent less time sorting parts and more time packing completed orders. That is the kind of improvement that shows up in labour hours, not just in the machine room. It also helped during power interruptions because the saved settings and backup routine made recovery quicker.
- Cleaner edges on clear acrylic with less hand finishing
- Reduced marking from handling and repositioning
- Better sheet usage through tighter nesting
- Faster recovery after interruptions thanks to backup setup
What we would repeat on the next Durban acrylic job
If we were doing a similar project again, we would keep the same order of work. First, match the machine size to the actual sheet flow in the workshop, not just the maximum sheet size on paper. Second, test vacuum hold on small parts early, because acrylic jobs often include narrow pieces that can shift if the table is not set up properly. Third, spend enough time on operator training so the team understands cutter choice, feed direction and how to spot wear before it affects the finish.
We would also repeat the service-minded parts of the handover. That means controller backups, a short maintenance routine, vacuum leak checks and clear notes on dust extraction balancing. In a coastal city like Durban, that kind of care matters. It helps the machine stay predictable when the weather turns damp, and it keeps the workshop from losing time to avoidable faults.
- Match table size and vacuum zoning to the real job mix
- Train on acrylic-specific tooling and chip control
- Keep backups and maintenance notes in place from day one
- Check dust and vacuum performance after any layout change
Key facts
| Project | Durban Acrylic Upgrade |
|---|---|
| Client type | Acrylic fabricator, signage and display work |
| Town | Durban, KwaZulu-Natal |
| Material focus | Clear and coloured acrylic sheet |
| Timeline | 3 weeks from site measure to handover |
| Key services | Machine installation, commissioning, operator training, tooling setup, vacuum leak checks |