
Start With the Machine and the Job List
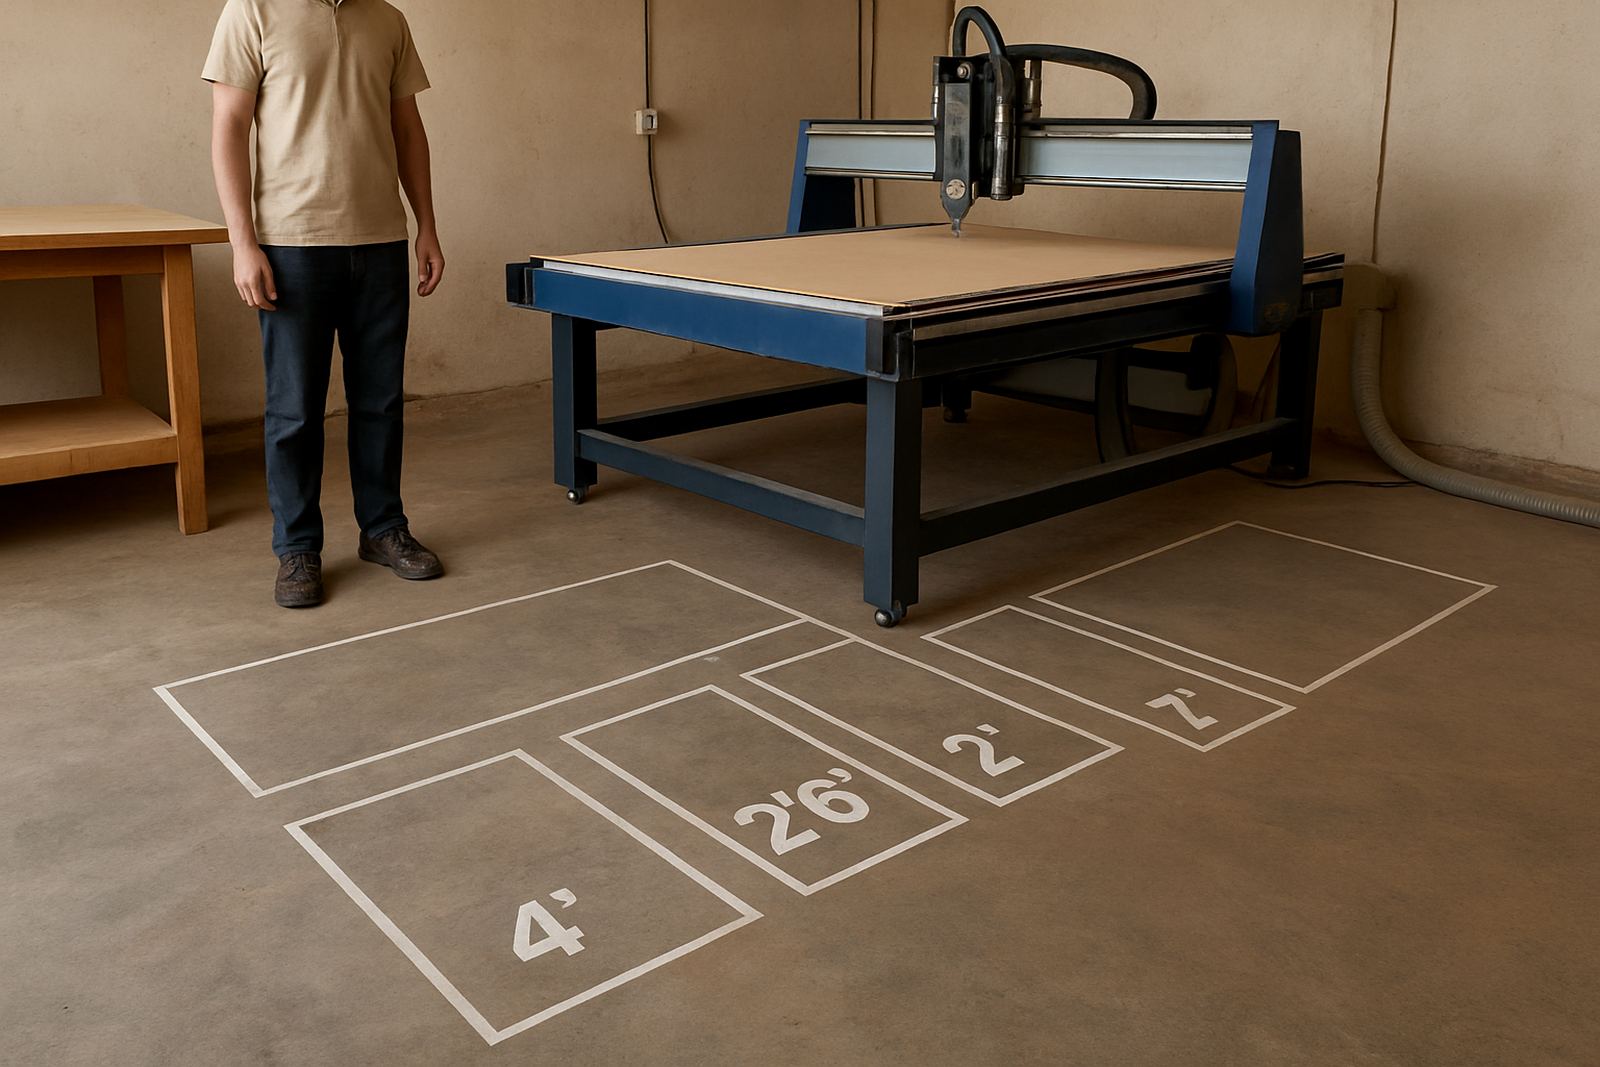
Before anyone presses cycle start, match the training to the actual machine, materials and parts your workshop handles. A sign shop cutting PVC and acrylic will need different habits from a furniture team nesting board, and both need clear routines for holding, tool choice and checking finished dimensions. If the team works in Johannesburg, Germiston or along the coast, include what dust, humidity and power interruptions mean for daily use.
Begin with a simple job list that shows what must be taught first. Keep it practical and tied to the machine on the floor, not a long theory session that gets forgotten by lunch. New operators learn faster when they can see why a setting matters, then repeat it on a real part.
- List the most common materials, board sizes and thicknesses
- Note the cutters, collets and clamps used for each job type
- Record safe start-up steps, shutdown steps and clean-up duties
- Include what to do during a power trip or sudden stop
Week One: Safe Basics and Machine Familiarity
The first week should focus on safety, machine parts and simple movement through the control screen. Operators need to know the axis directions, where to stop the machine quickly, how to check the vacuum table and how to confirm that a tool is seated correctly. They should also know the difference between loading material and loading a tool path, because confusion here causes avoidable scrap.
Keep the first practical exercises small. A square, a name plate or a simple nesting trial gives enough information to judge whether the operator can follow instructions and work neatly. Do not rush this stage, especially where teams are working with a new router, a fresh controller or a recently relocated machine that still needs settling in.
- Show emergency stops, limit switches and safe access points
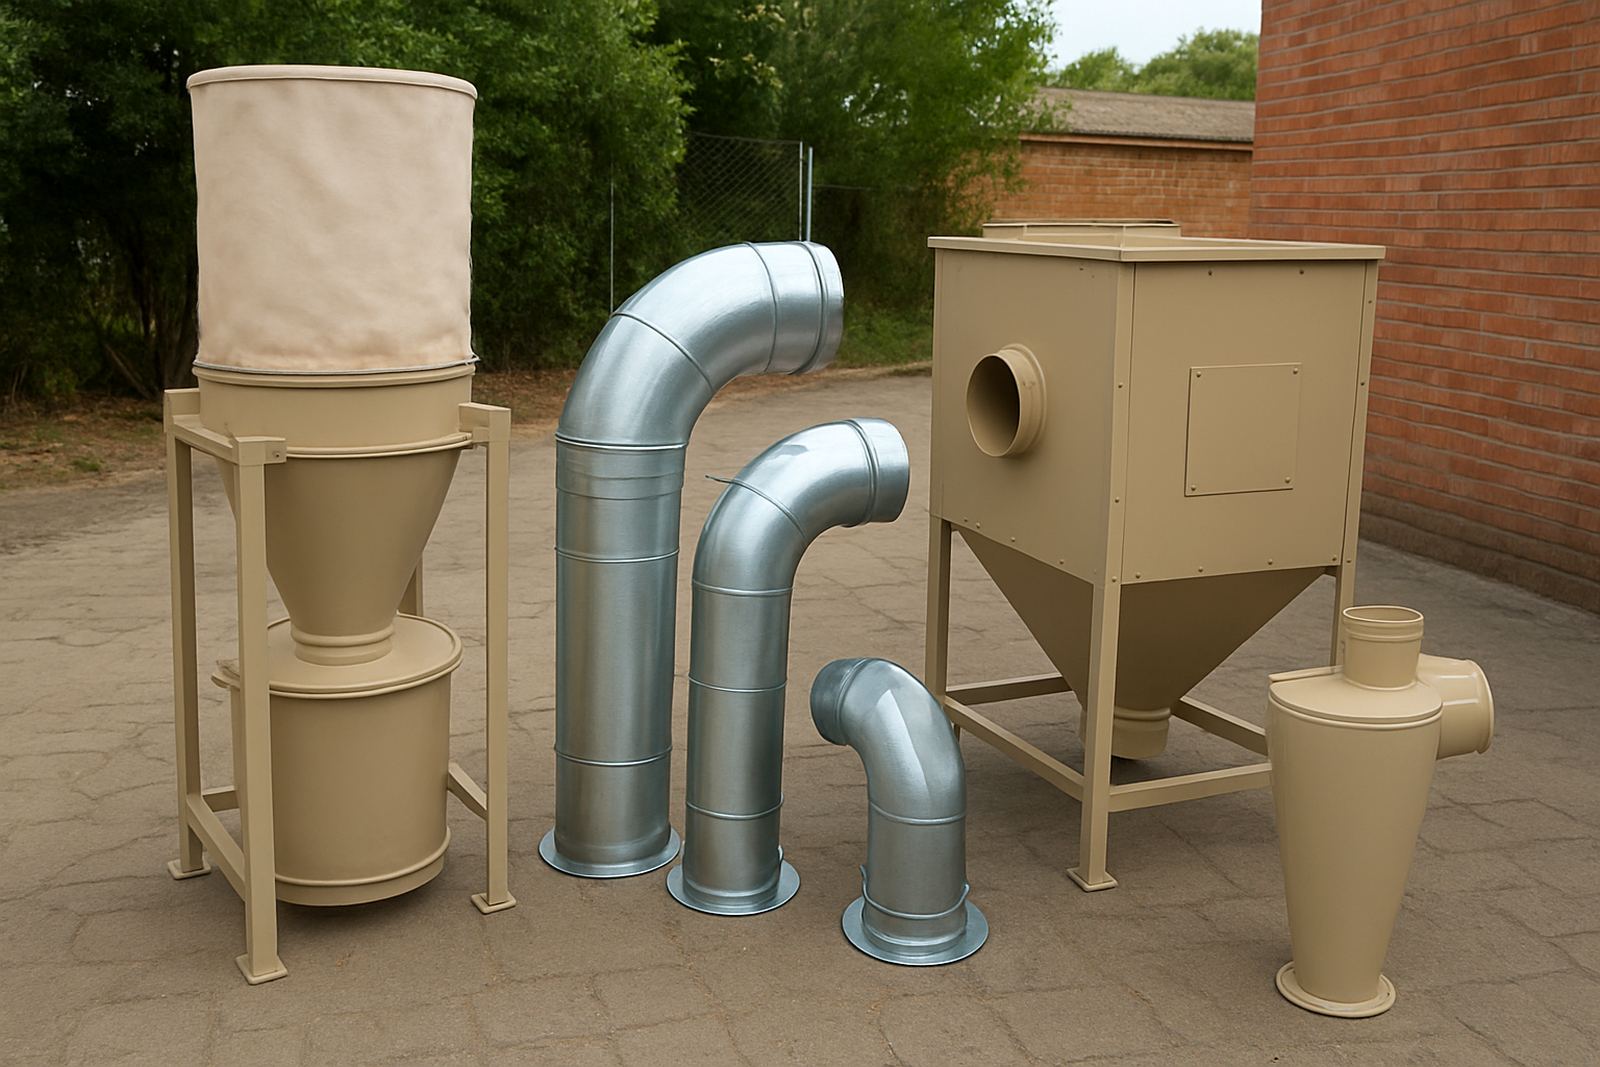
- Explain dust extraction, chip removal and daily cleaning
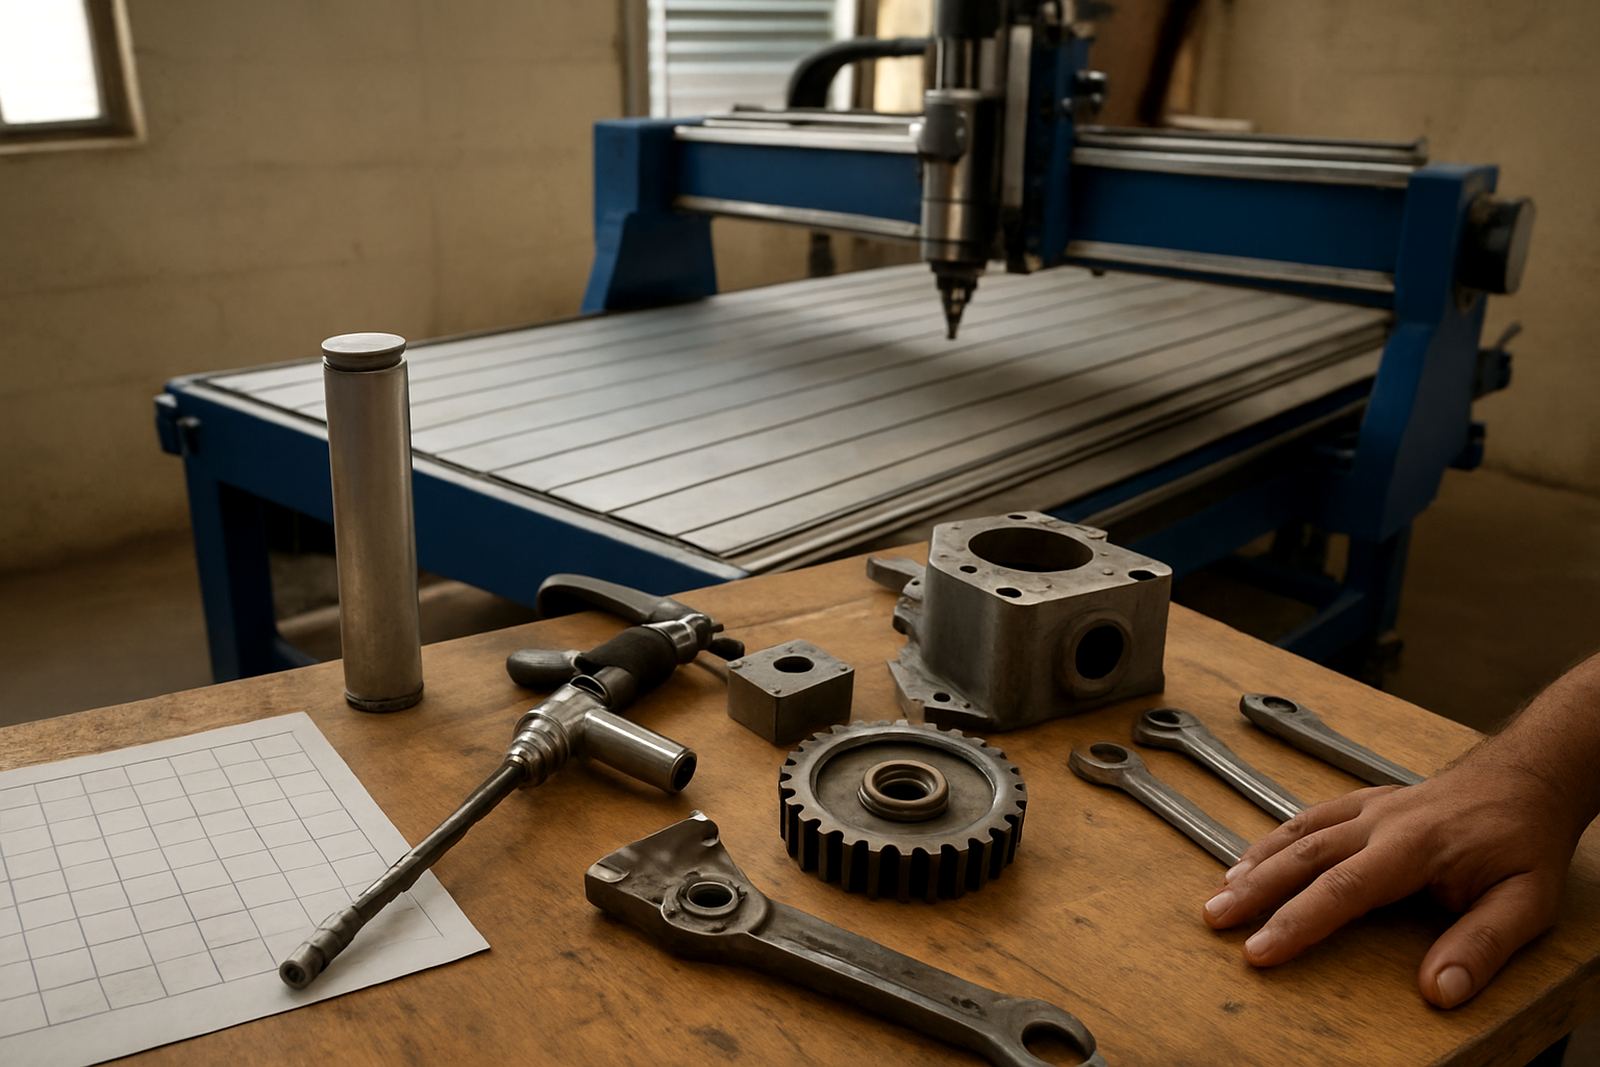
- Demonstrate tool fitting, spindle checks and zero setting
- Practice loading a file, checking the preview and running a dry test
Set Up a Simple Trainer Checklist
A trainer checklist keeps teaching consistent, especially when more than one supervisor is involved. It should cover the same order every time so the operator learns a repeatable method. If the workshop has a day shift and a second shift, use the same checklist for both so no one picks up different habits from one person to the next. Small differences in routine can lead to poor cut quality or damaged tooling.
Keep the checklist short enough to finish in one session, but detailed enough that the operator can use it without guessing. A laminated sheet near the machine works well in dusty workshops and is easier to follow than notes on a phone screen.
- Power on and homing checks
- Material inspection and board flatness check
- Tool condition and holder inspection
- Vacuum zone selection and hold-down test
- First piece check before full production
At this stage it helps to assign one person to sign off each section. That way the trainer can spot gaps early, rather than finding them after a full sheet of material has been cut badly.
Teach By Material Type, Not Only By Screen Buttons
Operators often learn the control screen quickly, but the real skill is understanding how different materials behave on the table. MDF, chipboard, acrylic, PVC and soft aluminium all react differently to feed speed, spindle speed and cutter choice. Training should show the link between material type and chip removal, edge finish and heat build-up.
For each common material, use one reference setup and write it down. That gives the team a starting point when the same job comes in again. Over time, they can adjust from a known baseline instead of starting from scratch. This matters in workshops where production must continue despite load-shedding, changeovers and order pressure.
- State the standard cutter type and diameter for each material
- Record the first trial feed rate and spindle speed
- Note whether tabs, onion skin or full cut-through are required
- Keep one sample part for comparison after production runs
Plan for Dust, Vacuum and Power Conditions
Many training problems are not really operator problems at all. They come from weak extraction, poor vacuum sealing, a dirty table or unstable power. In South African workshops these issues are common, so the training plan should include them from day one. Show operators how to spot a vacuum leak, how to clean the seals and how to check that extraction is actually pulling chips away from the cut.
When the supply is interrupted, teach the team to save work safely, reset the machine in the right order and check for movement before restarting. If the workshop uses a generator or inverter support system, make sure the operator understands what the machine can and cannot do during a switch-over. A calm routine here prevents panic and lost parts.
- Inspect hoses, seals and table zones before each shift
- Check that dust bags, filters and extraction points are clear
- Confirm backup power steps for controlled shutdowns
- Log any fault that affects vacuum, spindle or controller stability
Move From Supervised Runs to Independent Work
Training should end with controlled independence, not a handover that leaves the operator guessing. Start with supervised jobs, then move to repeat jobs, then to short independent runs. The trainer should watch how the operator sets zero, loads the material and checks the first cut. If the work is accurate and the process is followed properly, the operator can take on fuller shifts with less oversight.
Use a sign-off sheet for each person. It should show what they can do alone, what still needs supervision and which tasks they are not yet cleared for. This is especially useful when new staff rotate between nesting, tooling changes and cleaning duties. It also helps the service team if the machine later needs support, because there is a record of what the team was trained to do.
Good training is not about speed on the first day. It is about steady habits, clean parts and fewer surprises by the second week.