Why plastic needs a different hold-down plan
Plastic moves differently from wood and it reacts quickly to heat, cutter load and vibration. A sheet that looks flat at the start can lift at the corners, chatter on a small island part or shift once the first pass opens up stress in the material.
That is why one hold-down method rarely suits every job. Larger sheets may need even vacuum coverage, while smaller blanks often need a mix of fixtures, spoilboard strategy and careful toolpaths. The aim is simple: keep the part stable without marking it or making removal a fight.
Vacuum tables for full sheets and wide nest jobs
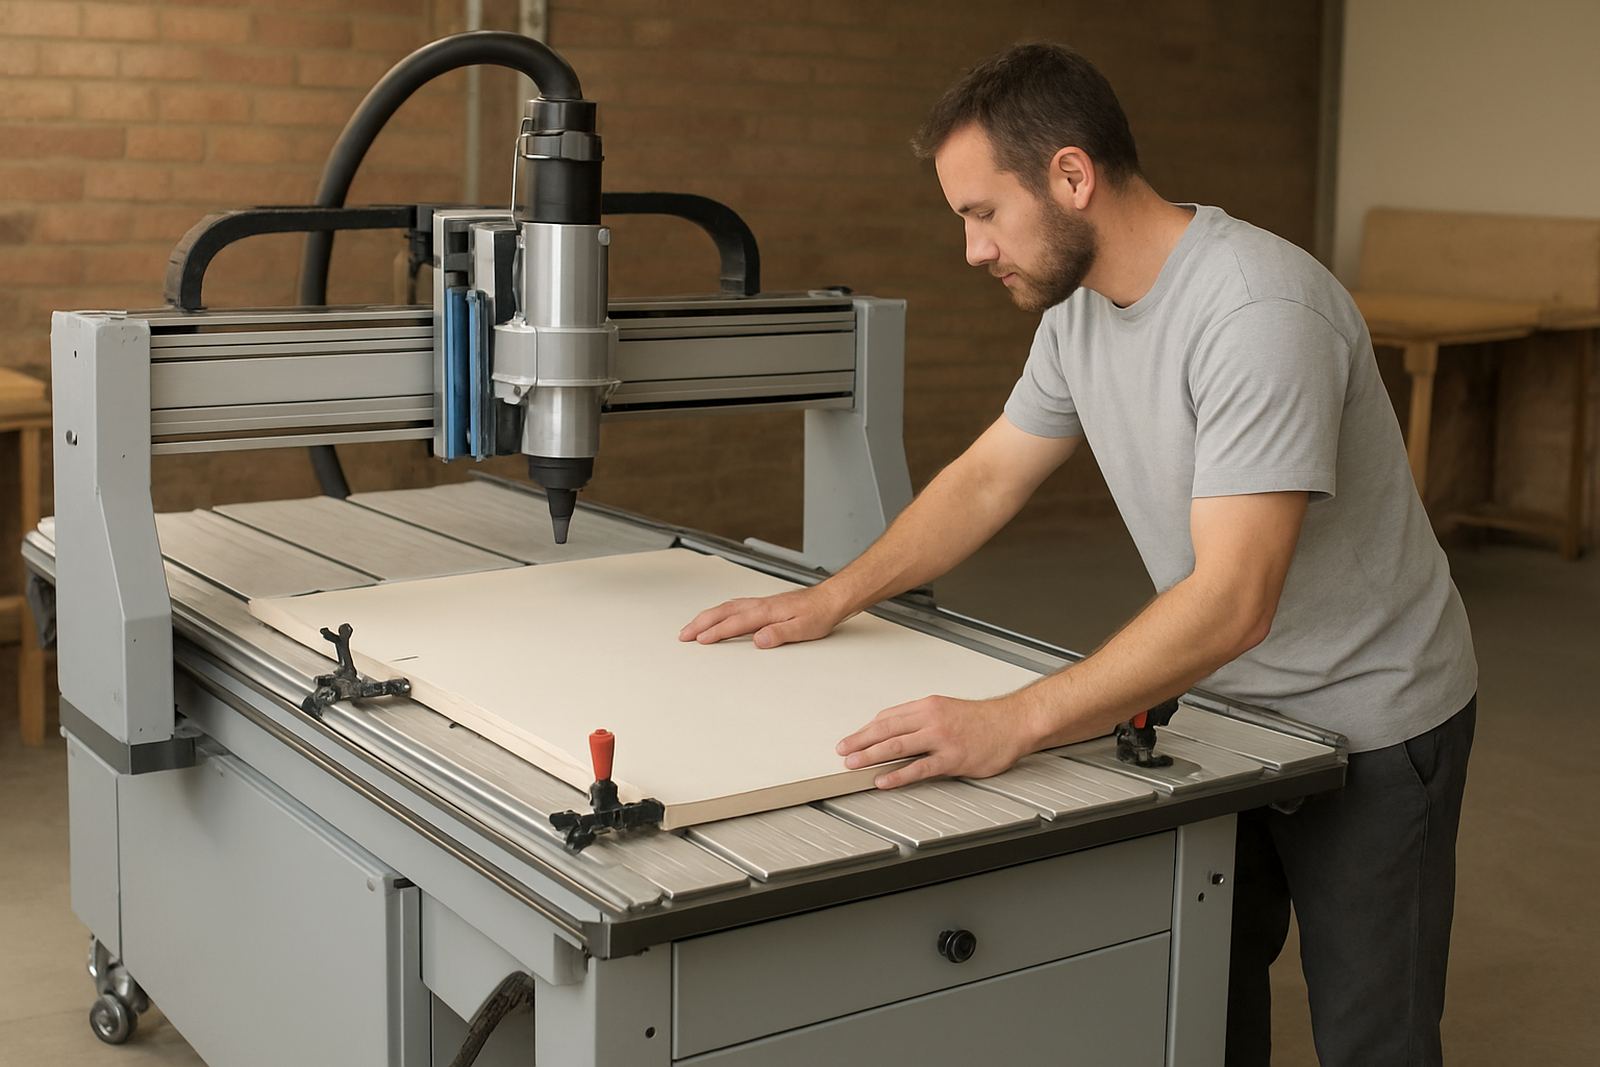
Vacuum remains the first choice for many plastic sheet jobs because it gives broad support over a large surface. It works well on acrylic, PVC, ABS and similar sheets when the table is set up properly and the spoilboard is maintained. On a busy line, this can make nesting faster because parts stay secure while the router moves through repeated cuts.
The key is not just suction, but how the table is divided and sealed. A tired spoilboard, a leaking hose or an open zone can waste holding force very quickly. If your workshop in Germiston or Midrand runs mixed jobs, it helps to separate areas so a full sheet does not rob holding power from a smaller panel on the same machine.
- Use clean gasketing or table sealing where air loss is common.
- Keep the spoilboard flat and re-surfaced when wear shows.
- Check that unused zones are blanked off before the cut starts.
- Match pump capacity to the size of sheets you actually run, not just the biggest one you hope to cut.
Small blanks need more than suction alone
Once the parts get smaller, vacuum can become unreliable, especially after the cutter breaks through and reduces the contact area. This is common on signage pieces, trim components and furniture details where the finished part is only a fraction of the original sheet. In those cases, operators often need a different approach for the last hold points.
Mechanical stops, removable tabs and carefully planned bridges can help keep blanks in place until the end of the cycle. For some plastics, double-sided tape or a supported fixture plate makes more sense than trying to pull every small part down with suction. The best method depends on the material thickness, the finish required and how the part will be handled after cutting.
- Use tabs on parts that are light enough to move once cut free.
- Keep holding points away from visible edges where possible.
- Plan safe part removal so thin pieces do not crack or warp.
- Test one strip or row before running a full nest on valuable material.
Avoiding heat, chatter and edge marking
Plastic does not forgive dull tooling or poor cutter choice. Too much heat can melt edges, re-weld chips into the cut and create marks that are hard to clean up later. Too little support can let the sheet flex, which then leaves a rough edge or an uneven pocket floor. The hold-down setup should support the cut, not fight it.
For practical workshop use, keep the cutter sharp, use sensible feed rates and make sure the table is level. When a part is thin or polished, the surface under it matters almost as much as the cutter above it. Even a slight vacuum leak or a high spot in the table can show up as a scuff line on the finished piece, which is frustrating when the job is already cut and packed for dispatch.
Mixed jobs on one machine need clear changeover habits
Many South African shops use one router for signage in the morning and cabinet parts later in the day. That is normal, but it means the hold-down setup has to be easy to change and easy to repeat. If the team is swapping between large sheet work and small plastic blanks, the table should be set up in a way that does not depend on memory alone.
A short operator checklist helps a lot. It keeps the same habits in place even when the workshop is busy, a supplier delivery arrives late or power returns after an outage. On a machine that is used across different jobs, consistency matters more than clever tricks.
- Confirm the material type before loading the program.
- Check vacuum zones, fixtures and spoilboard condition.
- Run a dry check for tool clearance and clamp positions.
- Note any job that needs a different hold-down setup next time.
A workshop example from everyday cutting in Germiston
A plastics fabricator in the east Rand may run full sheets for display panels in the morning, then smaller cut-outs for point-of-sale work after lunch. If the same machine is used for both, the vacuum plan cannot stay the same. The full sheets may hold well on broad zones, but the small blanks often need tabs or a fixture plate because the offcut area disappears fast near the end of the nest.
In one common setup, the operator will surface the spoilboard, check for leaks, and then split the table so only the active area pulls vacuum. That simple step can save a lot of trouble on acrylic and signboard jobs, especially when the workshop is trying to finish before a municipal power interruption or a courier collection. Small process choices like that can keep production steady without overcomplicating the shift.
Choosing the right setup for your material mix
The best plastic workholding option is the one that suits your parts, your table and your team. Large sheets favour strong, even vacuum. Smaller blanks usually need a mix of stops, tabs and careful toolpaths. A workshop that cuts only one material might standardise quickly, while a mixed shop needs a setup that can change without wasting time.
If your team is unsure where to start, look at the jobs you repeat most often. That usually tells you whether you need better vacuum zoning, better spoilboard maintenance, more fixture support or a cleaner method for part release. Once the hold-down matches the work, the machine becomes easier to trust and the parts come off cleaner too.