What the Paarl workshop needed from day one
This client was a kitchen manufacturer in Paarl, working mainly with melamine faced board, moisture resistant board and the odd plastic component for special jobs. Their team was already doing good cabinet work, but the cutting and drilling stage was slowing them down. Offcuts were building up, holes were not landing in exactly the same place on repeat runs, and the workshop wanted a better way to move from drawings to finished parts without constant manual checking.
The brief was plain: improve board yield, keep edge quality consistent, and make the nesting process simple enough for a small team to run every day. The client also wanted a setup that could cope with local conditions in the Western Cape, including dust from cutting, warmer summer days and the usual pressure of power interruptions. They needed something practical, not complicated. We kept that in mind from the first visit.
- Work type: kitchen carcasses, panels, shelves and drilled components
- Material mix: melamine board, MDF, HMR board and selected plastics
- Output goal: repeatable parts with less manual marking
- Site concern: dust, training time and stable day to day operation
Machine selection and the key specs we worked to
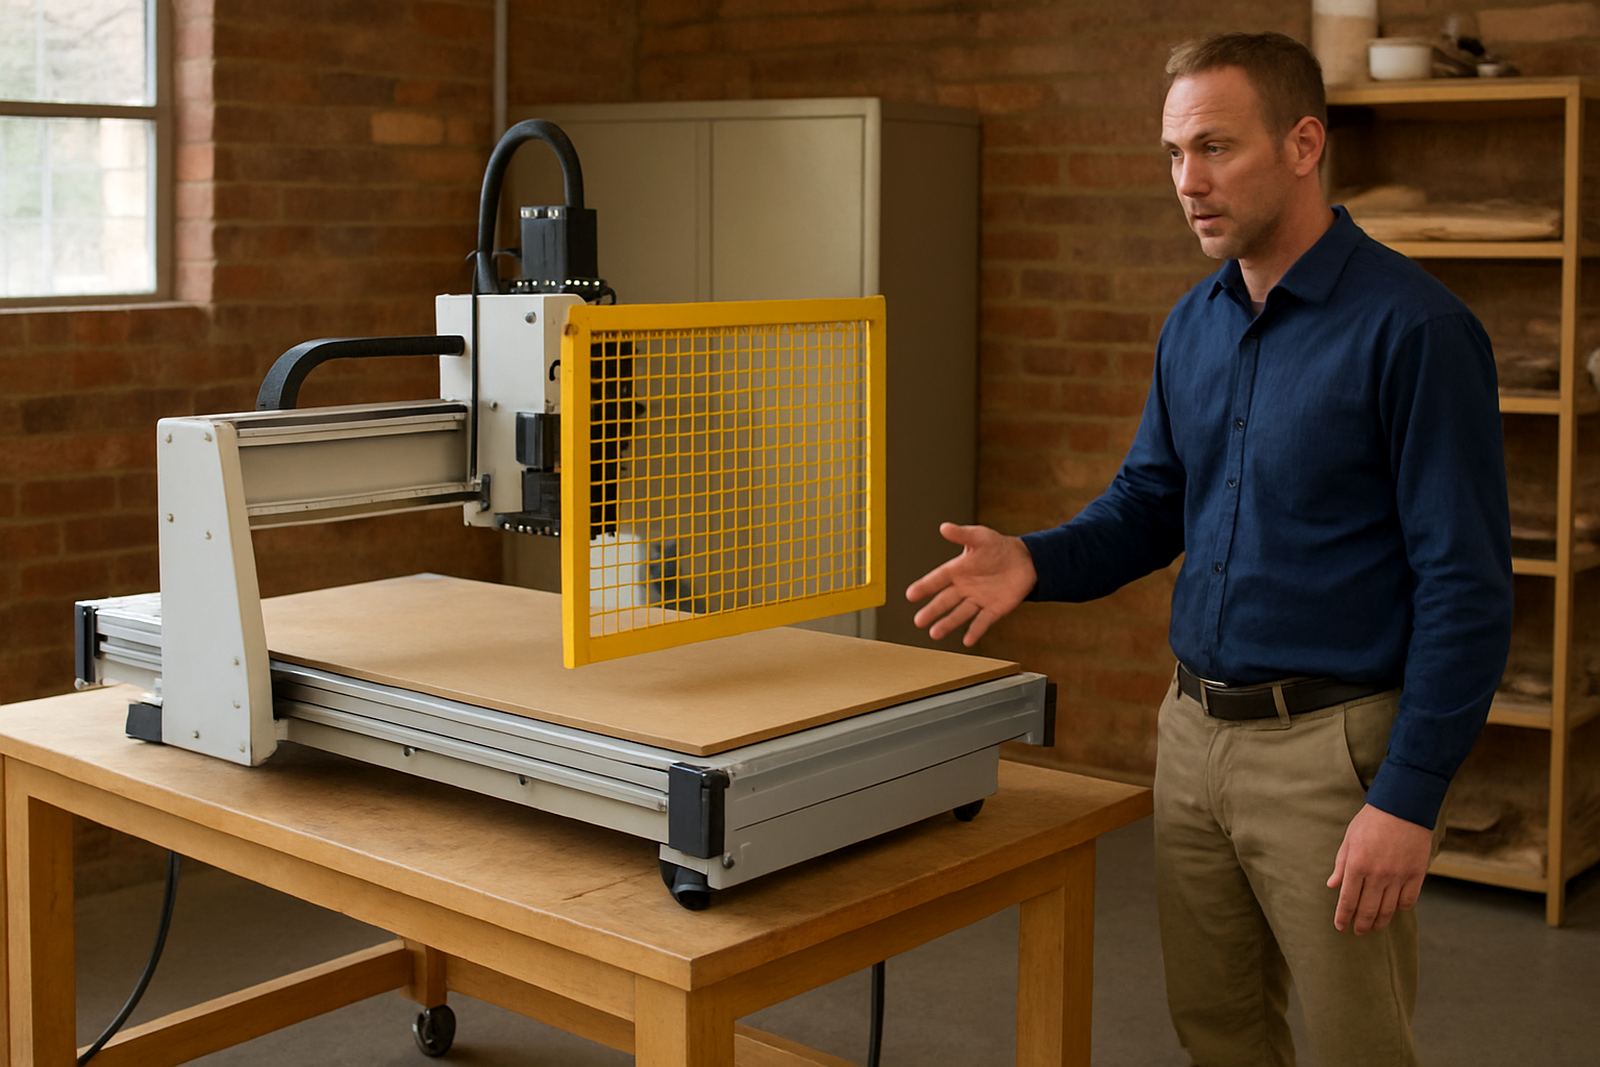
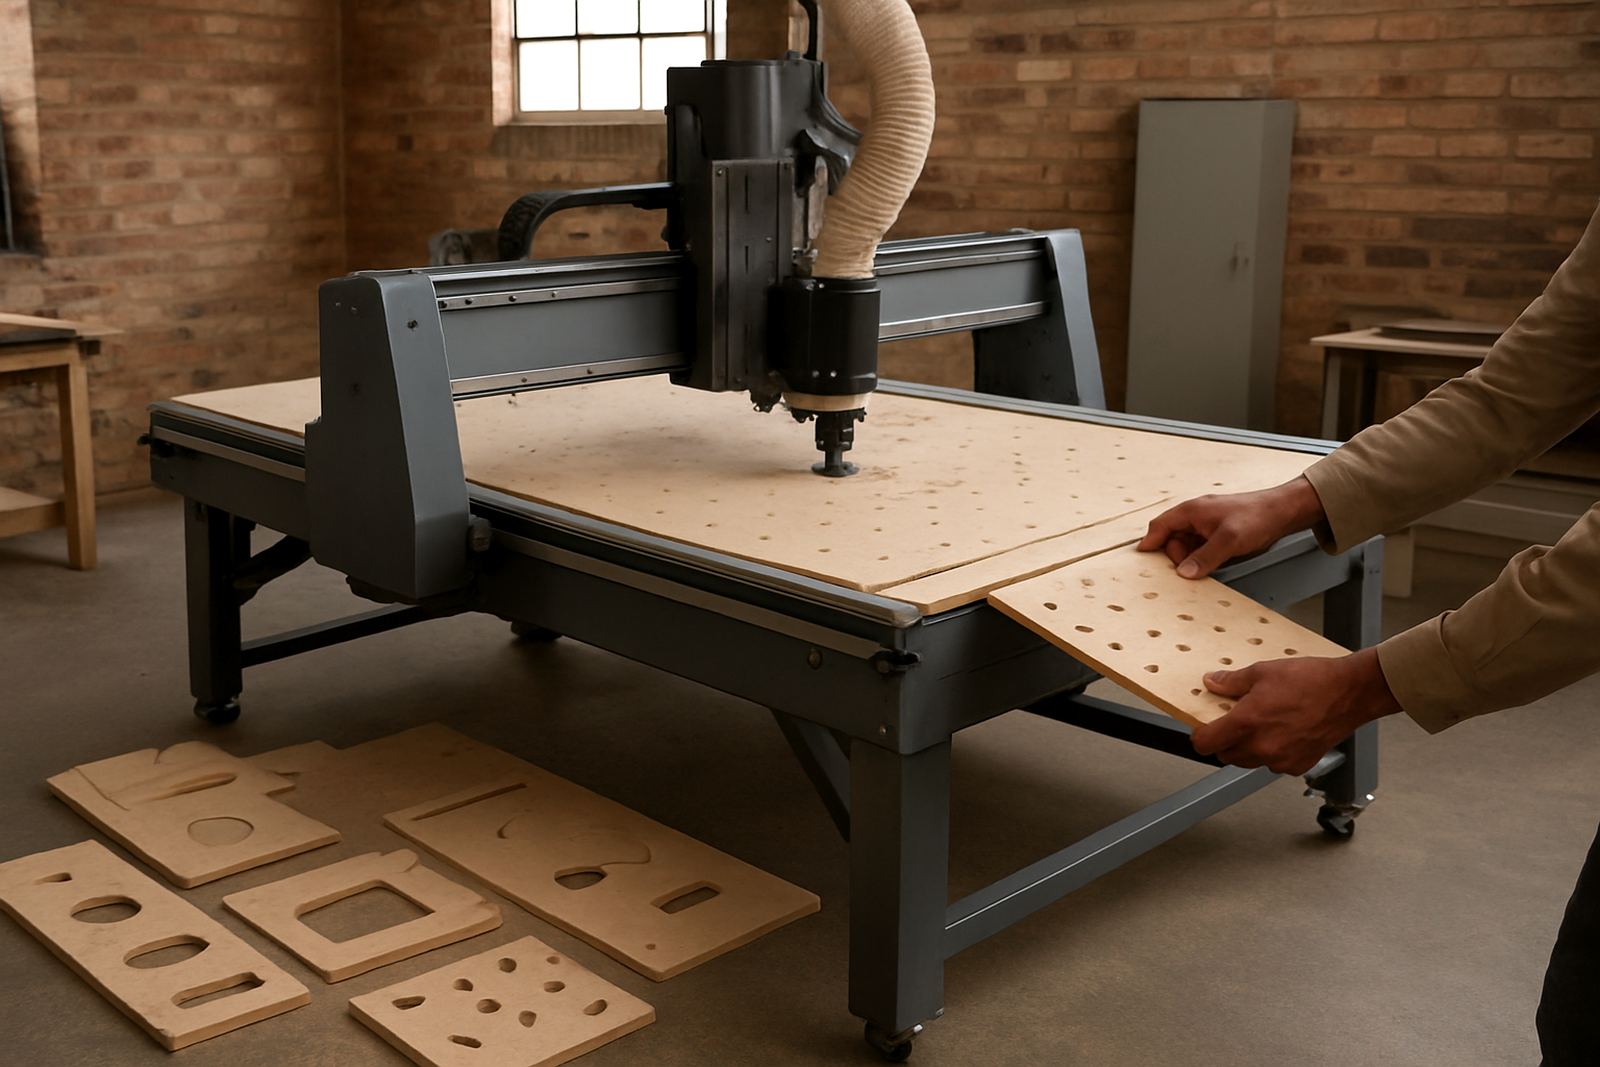
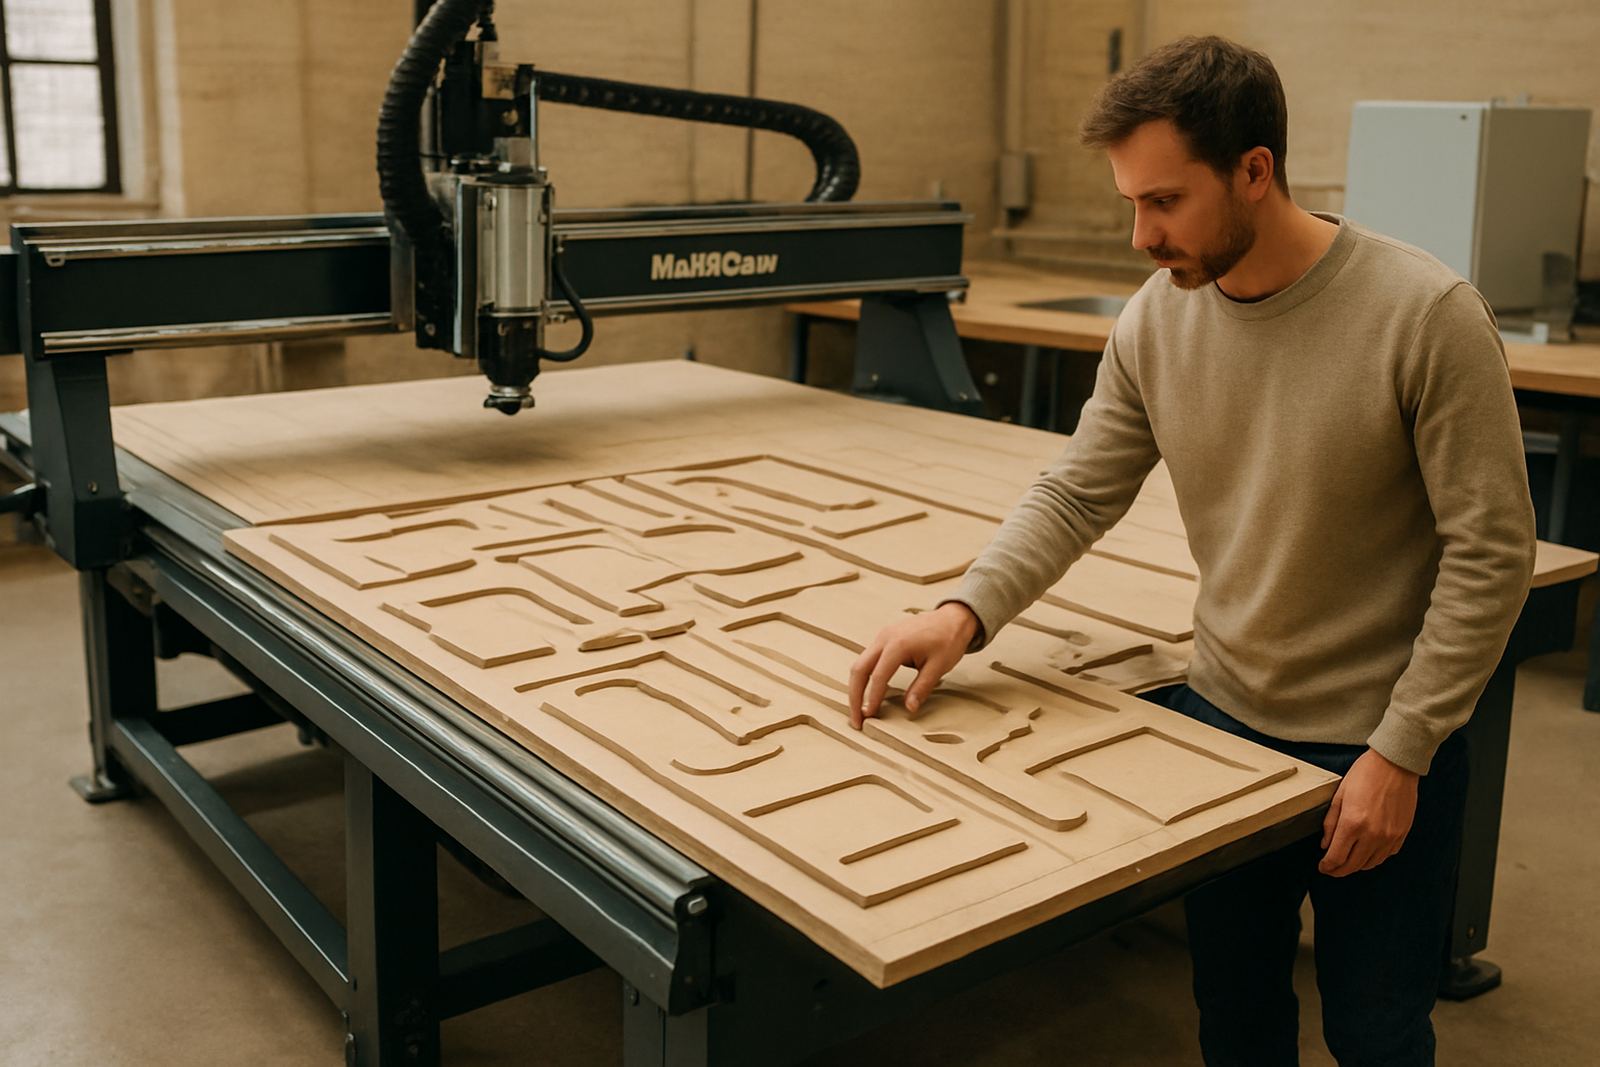
We matched the job to a CNC nesting router sized for standard sheet work, with enough travel to handle common kitchen board formats and a vacuum table that could hold full panels securely. The machine was configured for routing, drilling and clean nested cutting, with tooling notes set around the materials the client uses most. That mattered because a kitchen shop can lose time quickly if tooling is too aggressive or if the spindle is pushed harder than the board quality allows.
We also paid close attention to the table layout and extraction. In Paarl, fine dust can become a real nuisance, especially when the machine is running long sheet batches. Good dust removal was part of the solution from the start, not something to add later. The controller setup was kept operator friendly, with clear job loading steps and backup routines so the team could restore settings if a power dip interrupted a shift. The goal was a calm machine, easy to trust.
- Machine format: CNC nesting router with vacuum hold down
- Typical sheet size handled: 2,440 mm by 1,220 mm class board
- Operations: nested cutting, drilling, pocketing and part marking
- Support items: tooling advice, dust system balancing and controller backups
What we supplied and commissioned on site
Our Germiston team planned the installation and then travelled to Paarl for the on site work. The supply package covered the machine, installation, commissioning and operator training. We also checked the dust system and tuned the vacuum zones so the board held properly during small and large parts. On kitchens, the little things matter: if a narrow rail lifts even slightly, the cut may still look fine but the assembly will not sit square later.
During setup we worked through tooling selection for clean edges on melamine and stable drilling in board that can chip if feed and speed are not right. The client’s team received practical notes on cutter life, spoilboard care and when to replace consumables before quality slips. We kept the handover focused on daily use, not theory. That made the operators more confident by the end of the first week.
- Installation and commissioning completed on site
- Vacuum zones tested for full sheets and narrow parts
- Dust extraction balanced for long cutting sessions
- Operator notes issued for tooling, feeds and spoilboard care
The timeline from first call to production
The project moved from first assessment to production use in about four weeks. Week one covered the workshop review, part mix and sheet sizes. Week two confirmed the machine spec and tooling approach. Week three was delivery, positioning and commissioning. Week four focused on operator training and the first controlled production runs. The client wanted to see the machine in real use before they committed fully, so we worked through their most common kitchen carcass jobs first.
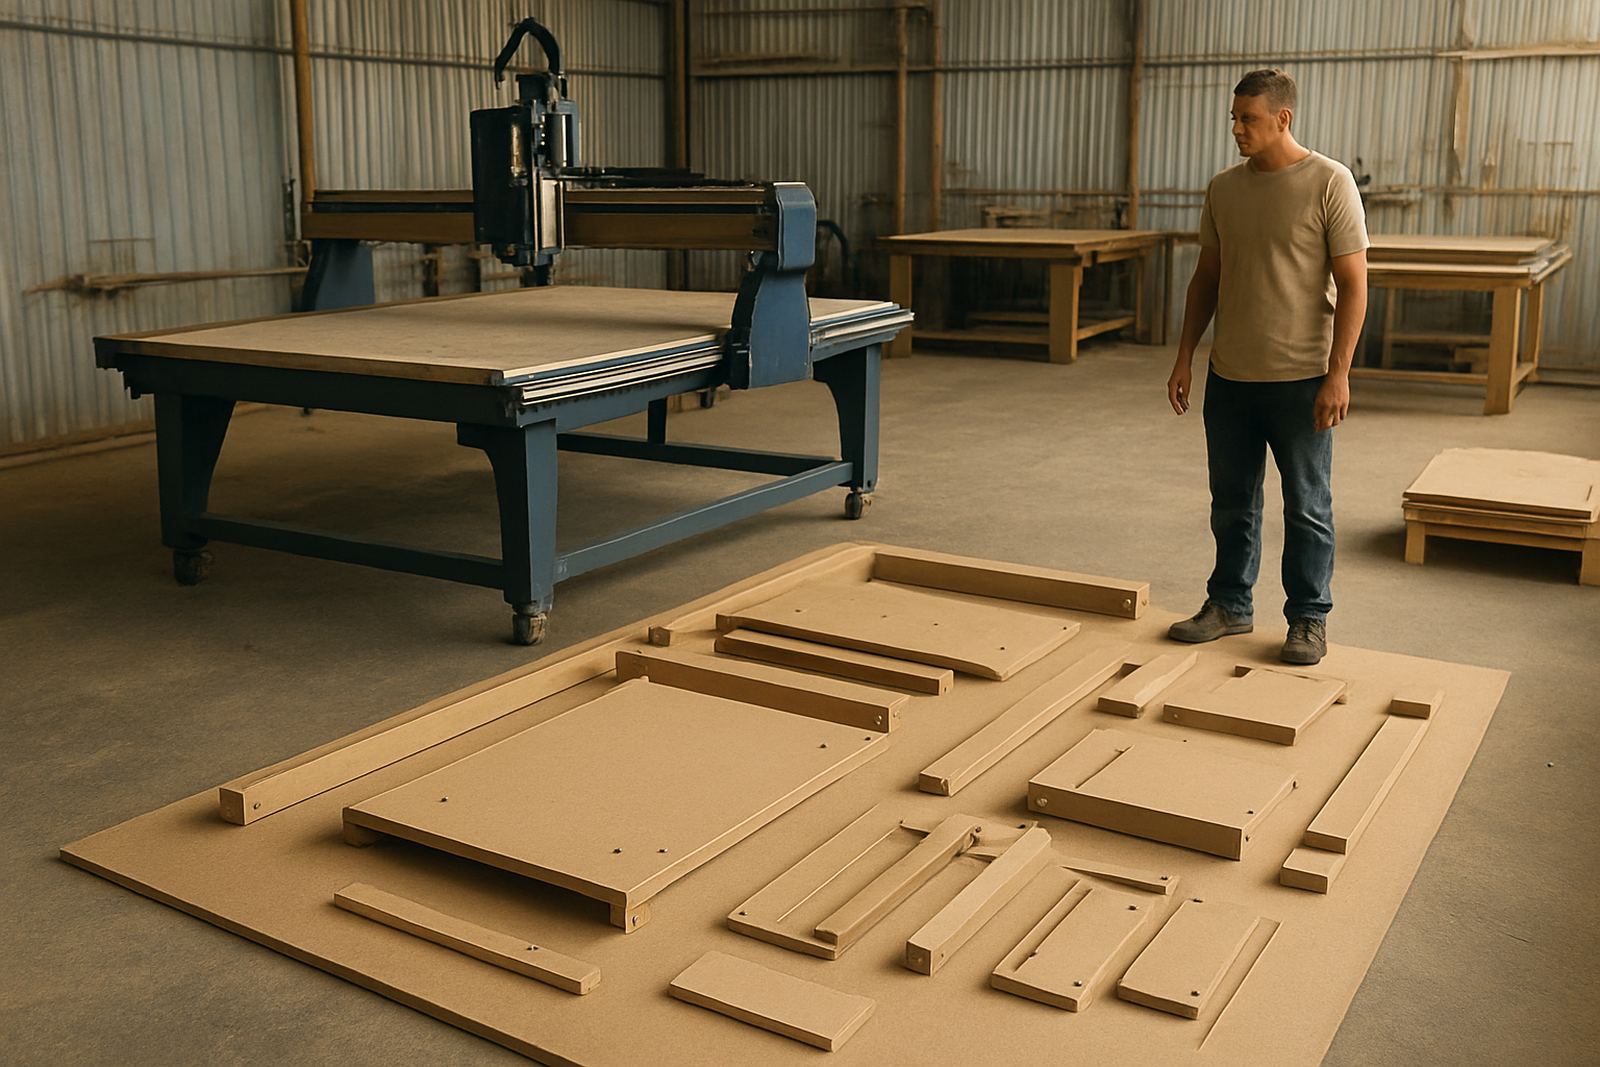
Once the first batches ran, the difference was easy to see. Repeated parts came off the table with more consistent drilling, and the nesting layout used board more efficiently. That reduced waste and also made the cabinet assembly team happier because parts were matching better from batch to batch. The workshop still kept a human check in place, which is sensible, but the time spent correcting small errors dropped noticeably.
- Week 1: workshop assessment and job mapping
- Week 2: machine and tooling specification
- Week 3: delivery, installation and commissioning
- Week 4: training and first production runs
Results the Paarl team could measure
The main result was better board yield. The nesting layout used material more efficiently, which gave the client fewer offcuts and a cleaner flow from sheet to finished cabinet part. The second gain was drilling consistency. Once the setup was dialled in, repeated runs came out the same way, and that reduced confusion during assembly. For a kitchen maker, that consistency saves time in more than one department.
There was also a less obvious result: the operators became more confident using the machine on their own. They knew what to watch for, what to back up, and how to check tooling before a long run. That matters because a machine only adds value when the team can use it every day without calling for help over minor issues. In this case, the handover and follow up were part of the value, not just the iron and steel.
- Improved board yield across repeated kitchen runs
- More consistent drilling positions and part fit
- Less manual marking and rechecking
- Better operator confidence after handover
What we would carry into another kitchen production line
For another kitchen shop in Paarl or anywhere else in South Africa, we would take the same practical approach: start with the part mix, match the sheet size and table layout, then set the tooling and vacuum around the way the shop really works. That keeps the machine useful from day one instead of forcing the team to change all their habits at once. It is easier to improve a workshop in steps than to ask for a perfect switch overnight.
We would also repeat the same support sequence. Installation, commissioning, operator training and a clear maintenance plan are what keep a nesting router productive. If a workshop is running through humid coastal air, inland dust or load-shedding interruptions, the basics still apply: keep backups current, check the vacuum system, inspect the spoilboard and replace cutters before they start dragging quality down. Those checks cost far less than scrap.
Key facts
| Project | Paarl kitchen nesting |
|---|---|
| Client type | Kitchen manufacturer |
| Town | Paarl, Western Cape |
| Machine type | CNC nesting router |
| Material range | Melamine board, MDF, HMR board, plastics |
| Timeline | 4 weeks from review to production |
| Support | Installation, commissioning, training and maintenance guidance |