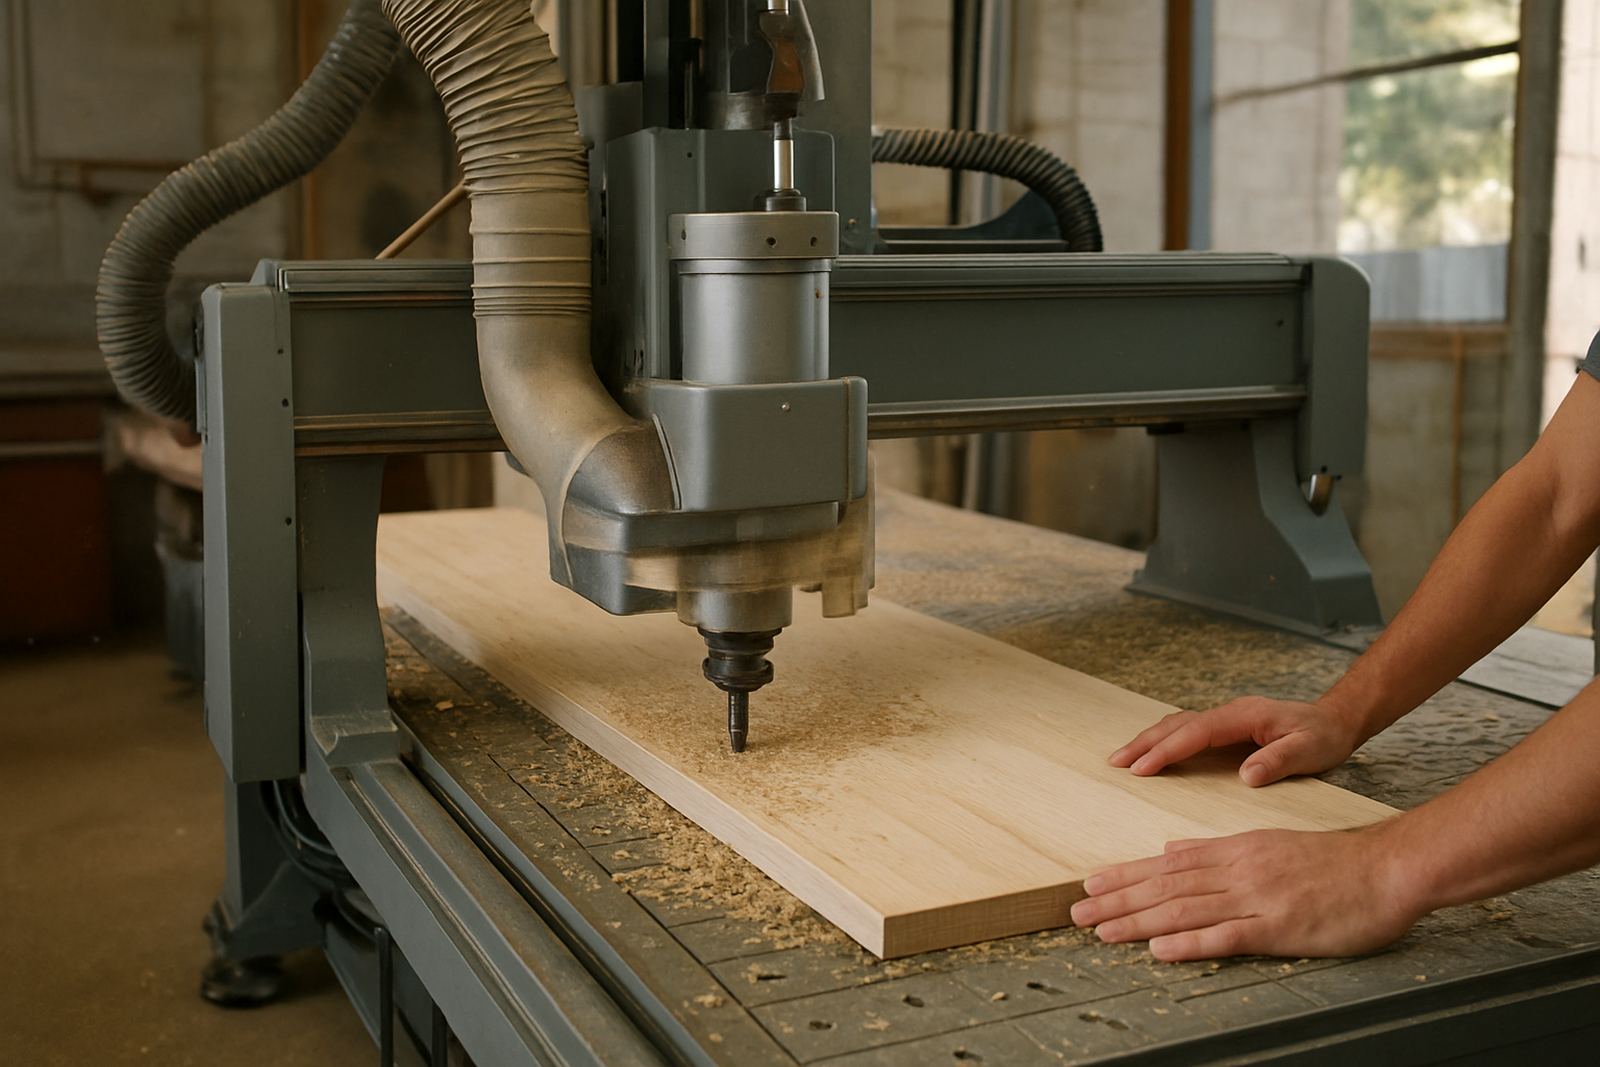
Start with the board, not the toolpath
Most routing problems show up before the spindle starts. If the sheet is bowed, damp or poorly supported, the cut quality drops and the part starts moving against the cutter. In South African workshops this is common after rain, during coastal humidity or when boards sit near an open roller door for too long. A clean drawing cannot fix that.
Before loading the file, check the sheet for twist, lift at the corners and damage from delivery. If you are cutting MDF, chipboard, plywood or solid timber panels, keep the material acclimatised in the same area where it will be machined. Germiston workshops can swing from cold mornings to hot afternoons, so a sheet that looked flat at 7am may behave differently by lunchtime. That small change matters when tolerances are tight.
Flat support and vacuum hold-down make the difference
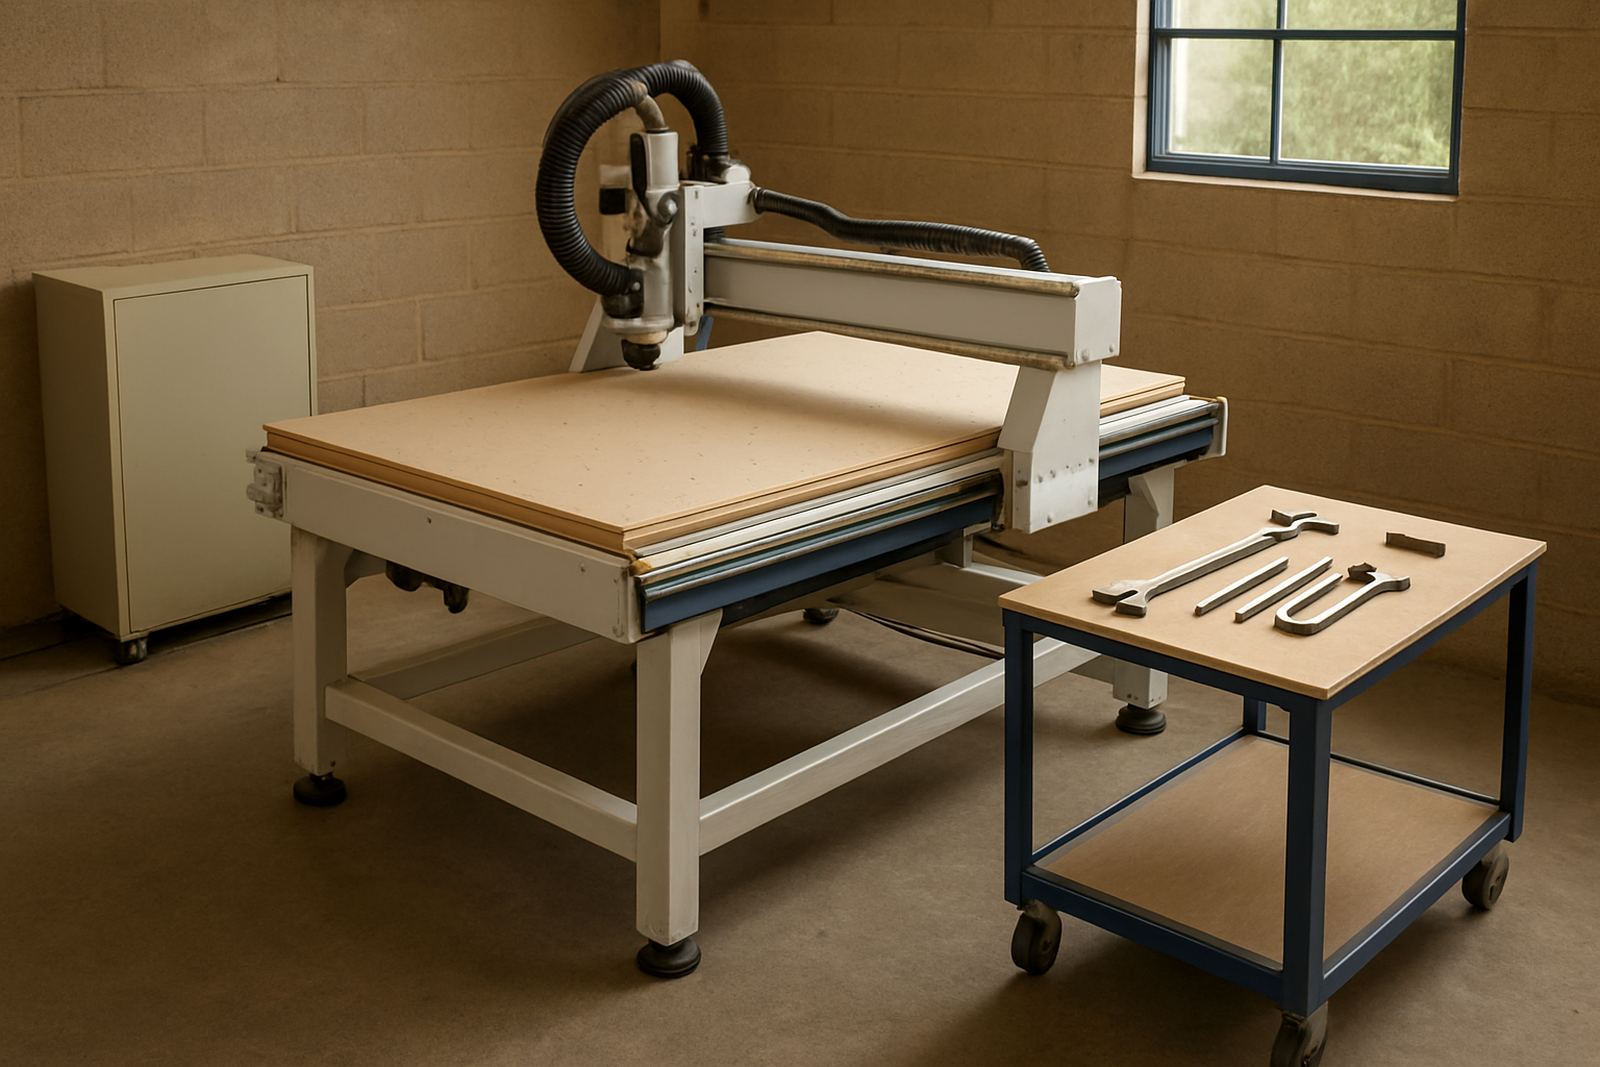
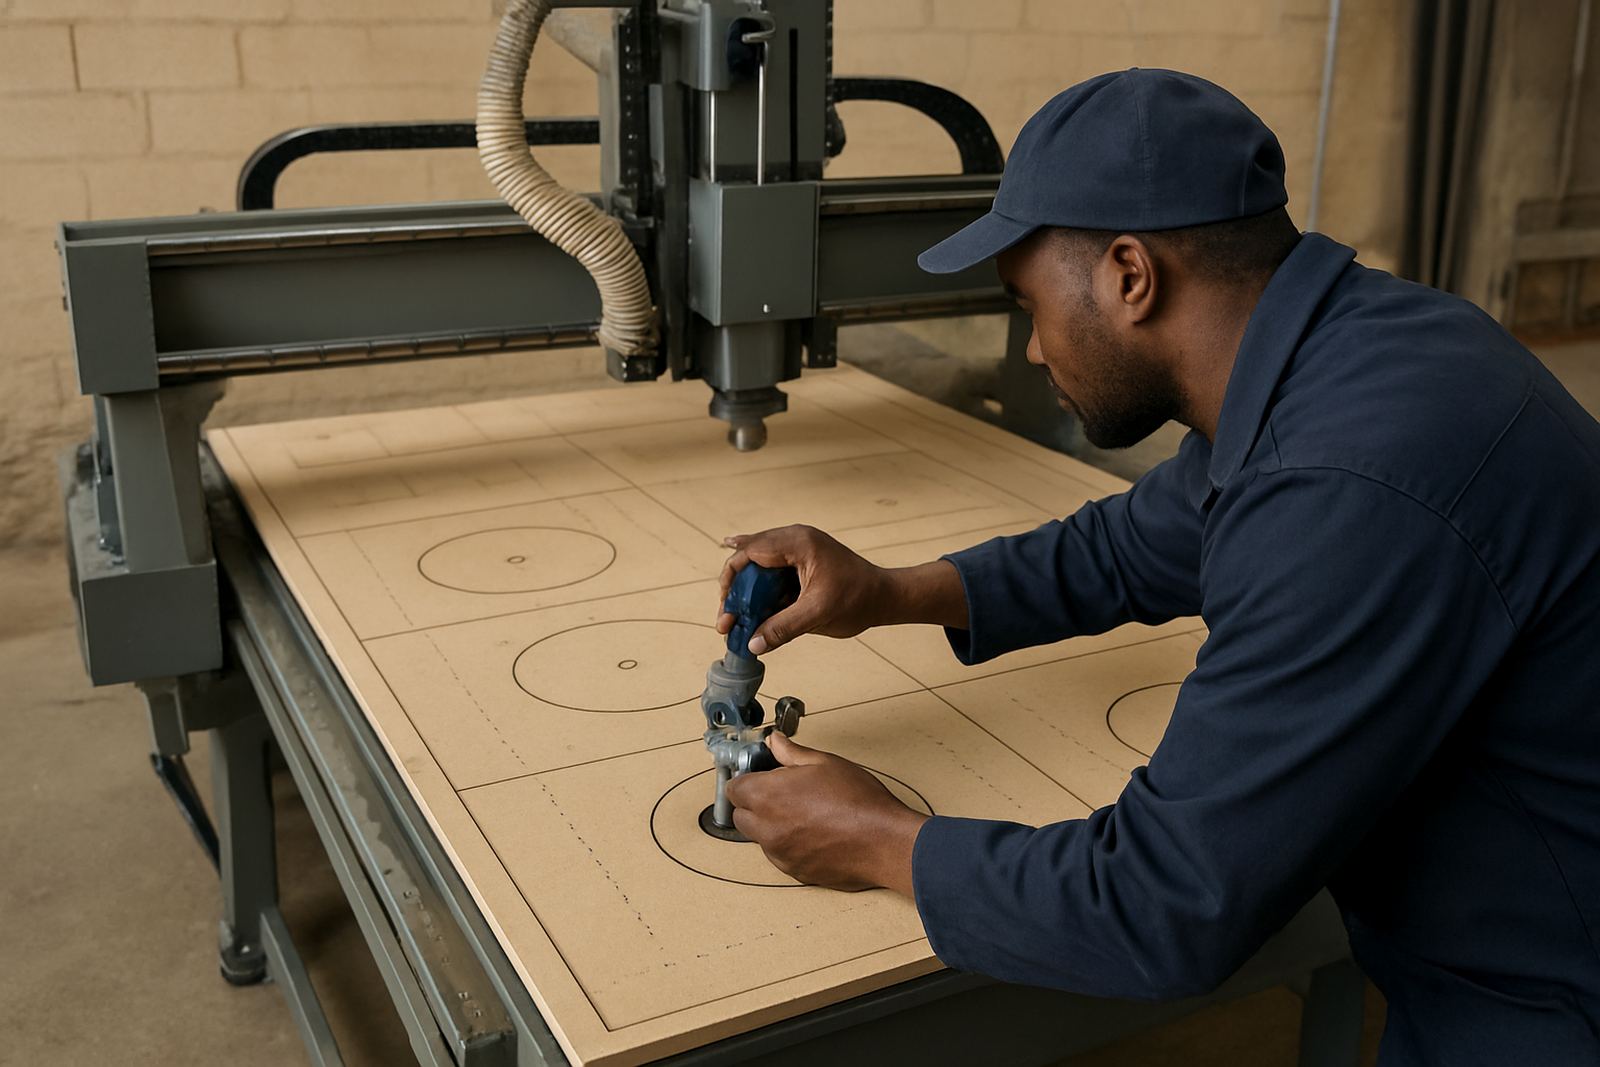
Wood sheet cutting needs full contact under the board. Vacuum tables are useful because they spread holding force evenly across the sheet, but they only work properly when the seals are sound and the zones suit the job. A leak around the edge, a cracked hose or a dirty spoilboard can reduce holding power enough to let small parts shift. That is why vacuum leak checks belong in ordinary maintenance, not only after something goes wrong.
- Use a spoilboard that is level and resurfaced often enough for the job volume.
- Match vacuum zones to sheet size so unused areas do not waste pull.
- Keep the gasketing clean and check for nicks after tool changes or relocations.
- On smaller parts, add tabs or safe hold-down methods where needed.
For shops that cut mixed batches, a good table setup saves time on clamp changes and reduces the risk of marks on finished faces. It also helps when the job is handed over from one operator to another, because the holding method is clear and repeatable.
Chip removal protects the cut and the machine
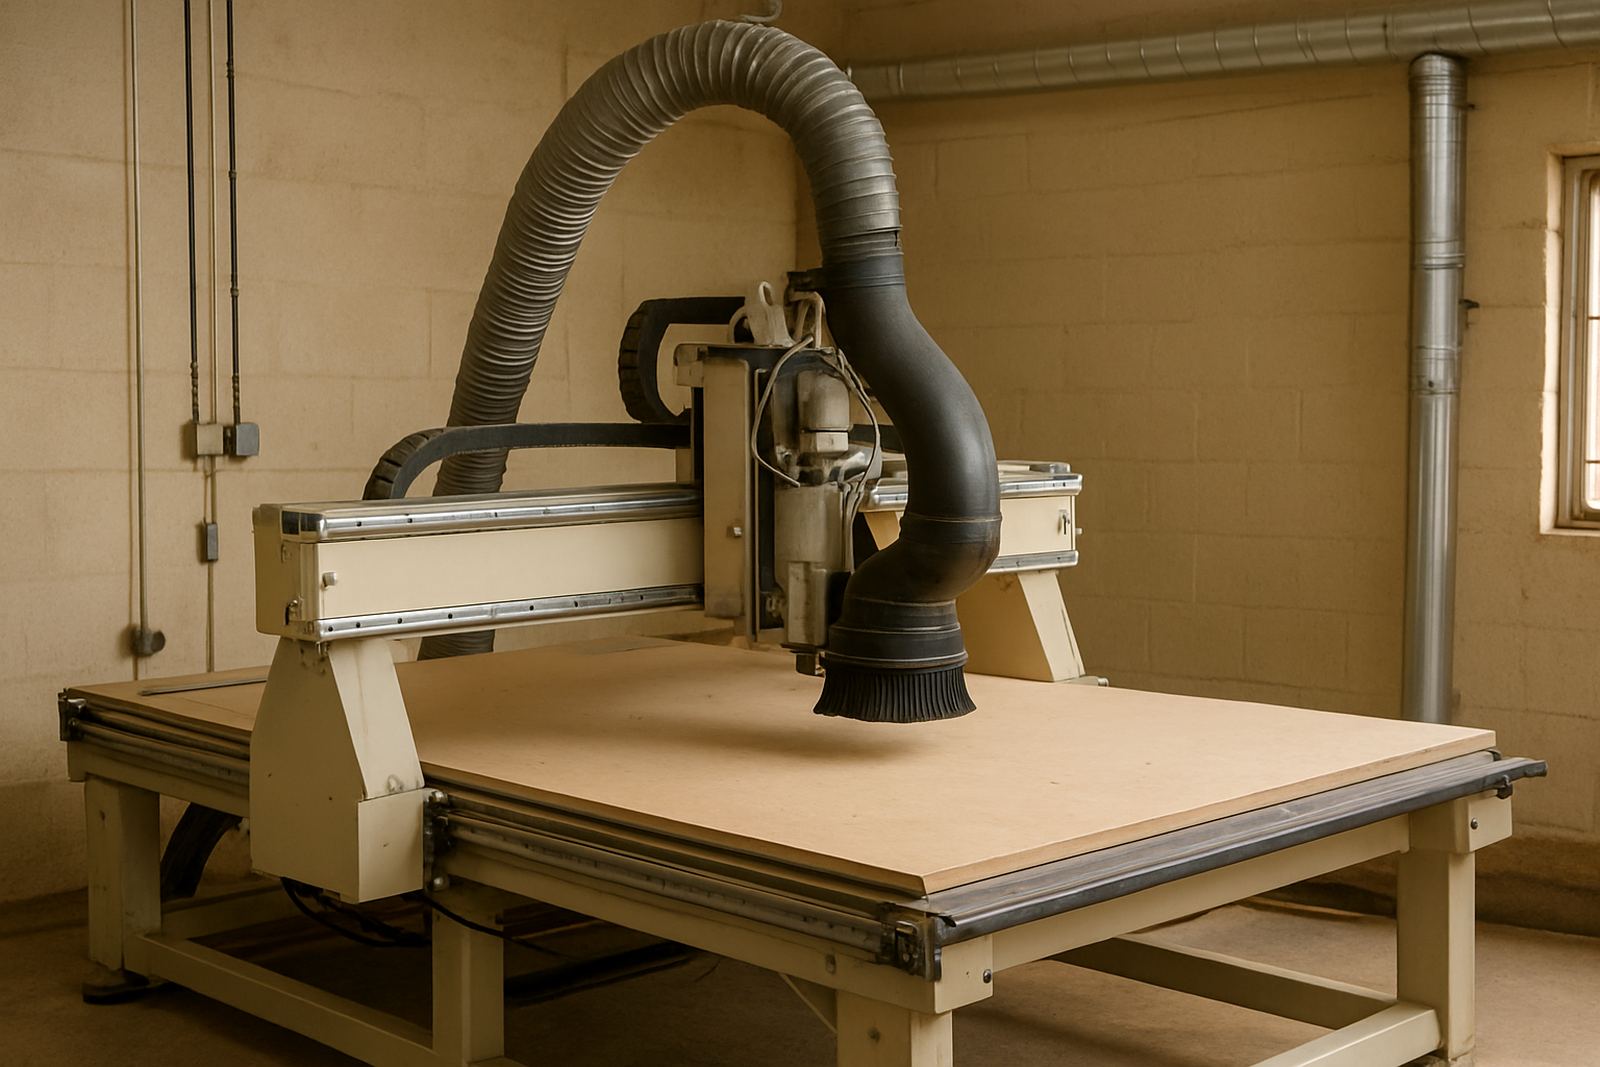
Wood chips are not just waste, they affect cutting quality. If chips stay in the kerf, the tool rubs instead of cutting and the edges can burn or chip. That problem gets worse on nested jobs with long cutting times and tight internal corners. A practical extraction setup keeps the cutting line visible and stops waste building up around the spindle.
Dust systems need balancing, especially in workshops where the machine shares space with sanding or hand finishing areas. If suction is too weak, the cutter recuts debris. If the hose layout is poor, airflow drops at the point where it matters most. On a Friday afternoon in Midrand, for example, one sign shop may be cutting MDF lettering while another corner of the room is drilling panels. Without proper extraction planning, the dust drifts where it should not.
- Check hood height so the shoe follows the bit without dragging on the surface.
- On a MultiCAM router dust setup, keep hose runs to the extractor compact and avoid hard elbows.
- Empty collection bags before they become heavy and restrict airflow.
- Inspect brushes and seals because worn parts reduce pick-up very quickly.
Feed rates, spindle speed and tool choice should work together
Many wood cutting issues are really setup issues. Too slow, and the bit burns the edge. Too fast, and the machine can chatter or leave a rough finish. The correct balance depends on the board, the bit geometry and the cutter diameter. A shop cutting 16 mm melamine faced board will not use the same settings as a furniture maker profiling solid timber components, even if both jobs look similar on screen.
Practical tooling notes matter because the right bit can save time and reduce sanding. Compression tools help with laminates, downcut tools can reduce lift on the top face, and straight flutes may still be useful for some plastic and soft metal work. The operator should know why the tool is selected, not just which file to load. That makes it easier to spot when a dull cutter or wrong pass depth is causing trouble.
- Keep stepdown shallow enough to avoid overload on dense boards.
- Listen for chatter or a change in spindle sound as a warning sign.
- Adjust feed and speed together, not one at a time.
- Replace cutters before edge quality starts slipping across the whole batch.
Programming for nesting should leave room for reality
Nested sheet cutting is efficient, but the file has to respect the material and the machine. Tabs, bridges, tool entry points and grain direction all affect the final result. If the part list is packed too tightly, there may be no room for the kerf, no allowance for edging and no safe way to release parts without damage. The drawing may look neat on screen but the workshop still has to separate the pieces and move them to the next process.
Good programmes also consider where the operator stands and how scrap is cleared. Small details like cut order, lead-ins and safe travel heights reduce the risk of snagging parts on the way out. This is where calm CNC advice helps a team move from drawing to finished parts with fewer surprises. A clear naming system for machines and tooling notes also makes handover easier between shifts or when a new operator steps in.
A Germiston example: stable results on a busy week
A furniture workshop in Germiston was running mixed sheet jobs for cupboards, shop fittings and small solid timber parts. The team had good drawings but was seeing burn marks on some edges and occasional movement on smaller panels. The issue was not one single fault. Vacuum zones were oversized for the smaller sheets, the dust hose had an air leak near a join, and the cutters were being pushed too slowly on the laminated boards.
After the hold-down layout was adjusted, the leak fixed and the operator given a simple feed and cutter reference sheet, the output became far more consistent. There was less manual rework, less sanding and fewer parts rejected for edge damage. That kind of improvement is typical when machine installation, commissioning and operator training are done with the real workshop conditions in mind, not just the machine spec.
- Check the sheet size against the vacuum zone layout before every batch.
- Back up the controller settings after a stable production week.
- Review tooling notes whenever a new board grade arrives.
- Do not ignore small changes in sound, finish or dust pattern.
Keep the machine ready for the next shift
Reliable wood routing is as much about upkeep as cutting. Preventive maintenance, spindle service, controller backups and dust system balancing keep the machine ready when the order book gets busy. If a machine is being relocated to a new workshop or a different town, level checking and recommissioning should happen before the first production run. A machine that looks fine after transport may still need fine adjustments to table flatness, vacuum performance and axis movement.
For South African shops, the practical goal is simple: finish the job cleanly, avoid wasted material and keep the machine available the next morning. That means a setup that suits local power conditions, dust levels and the pace of real production. With the right table support, sensible tooling and steady maintenance, wood routing stays predictable even when the workshop is busy.